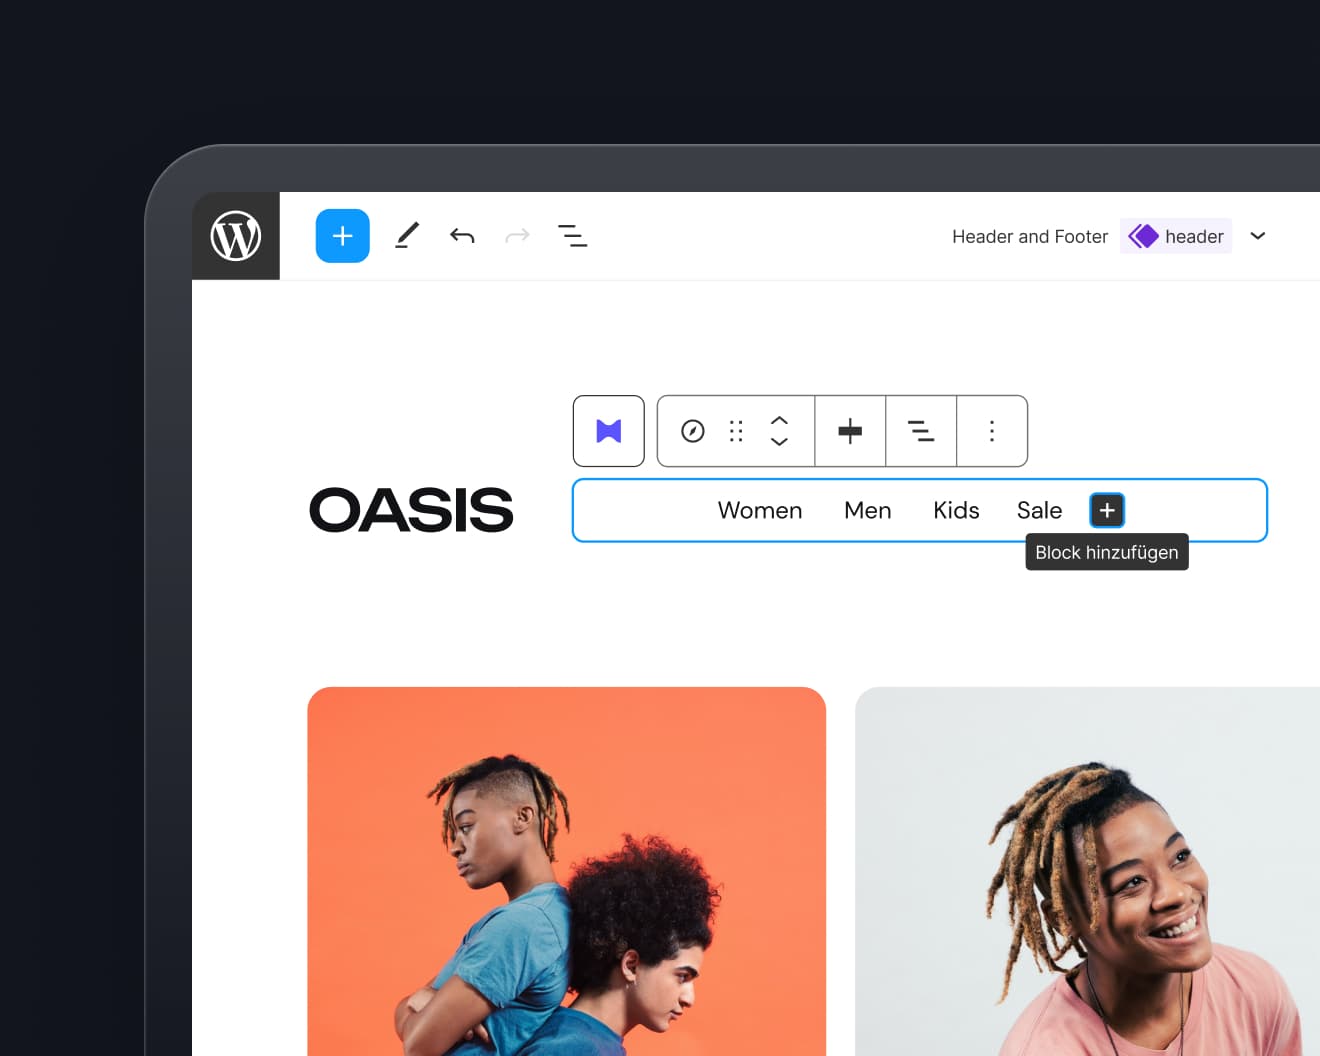
In 7. Teil meines WordPress Video-Tutorials zeige ich, wie man den Header des Themes einrichtet. Dabei bearbeite ich die Theme-Datei header.php und zeige die individuelle Menü-Funktion (Custom Menus) in WordPress. Außerdem kannst du dir im Stylesheet anschauen, wie man ein einfaches Dropdown-Menü für die Hauptnavigation des Themes anlegt.
Alle bisherigen Teile des WordPress Video-Tutorials, sowie weitere Screencasts findest du übrigens auch direkt auf unserer Vimeo-Seite.
Link-Tipps zum Video
- Die kostenlosen Google Webfonts zum Importieren ins Theme. Den @import Link findest du bei jeder Schrift unter „Use this font“ / „Advanced techniques“.
- Auf der Webseite HTML5 Doctor gibt es ein umfangreiches Glossar aller HTML5-Elemente.
- Weitere Infos zur WordPress-Funktion wp nav menu findest du im WordPress Codex.
- Infos im WordPress Codex zur individuellen Menü-Funktion.
Code-Schnipsel aus dem Video
Im HTML5 header-tag werden wird das Hauptmenü sowie der Seitentitel und Untertitel des Themes eingeschlossen.
<header id="branding" role="banner">
<nav id="mainnav" class="clearfix">
<?php wp_nav_menu( array( ‚theme_location‘ => ‚primary‘ ) ); ?>
</nav><!– end mainnav –>
<hgroup id="site-title">
<h1><a href="<?php echo home_url( ‚/‘ ); ?>" title="<?php echo esc_attr( get_bloginfo( ’name‘, ‚display‘ ) ); ?>" rel="home"><?php bloginfo( ’name‘ ); ?></a></h1>
<h2 id="site-description"><?php bloginfo( ‚description‘ ); ?></h2>
</hgroup><!– end site-title –>
</header><!– end branding –>
[/php]
Der Headerbereich im Stylesheet inklusive Dropdown-Menü:
/* Header
——————————————— */
#site-title {
padding: 21px 0 15px;
}
#site-title h1 {
margin: 0 10px 0 0;
font-size: 2.1em;
line-height:1.2;
font-weight: bold;
text-transform:uppercase;
display: block;
float: left;
}
#site-title h1 a:hover {
text-decoration:none;
}
#site-title h2 {
font:italic .9em ‚Droid Serif‘, Times, serif;
color: #777;
margin: 17px 0 0 0;
}
header#branding img.headerimage {
width: 100%;
height: auto;
margin-top: 12px;
}
header#branding img.attachment-headerimage.wp-post-image {
width: 100%;
height: auto;
}
hgroup#site-title img {
max-width: 100%;
}
/* Navigations
——————————————— */
/* — Main Nav — */
#branding #mainnav {
margin: 30px 0 0;
max-width: 70%;
float:right;
}
#branding #mainnav ul li {
float: left;
list-style: none;
position: relative;
}
#branding #mainnav ul li a {
margin:0;
padding:9px 14px;
display: block;
font-size: .8em;
text-transform: uppercase;
}
#branding #mainnav ul li:first-child {
margin: 0px;
}
#branding #mainnav ul li a:hover {
background:#F0F0F0;
color: #999;
text-decoration: none;
}
#branding #mainnav ul ul {
display: none;
float: left;
position: absolute;
top: 2em;
left: 0;
z-index: 99999;
}
#branding #mainnav ul ul ul {
left: 100%;
top: 0;
}
#branding #mainnav ul ul a {
background: #F9F9F9;
padding: 9px 14px;
width: 11em;
height: auto;
text-transform: none;
}
#branding #mainnav li:hover > a,
#branding #mainnav ul ul :hover > a {
background: #F0F0F0;
}
#branding #mainnav ul ul a:hover {
background: #F0F0F0;
}
#branding #mainnav ul li:hover > ul {
display: block;
}
[/php]
Das bisherige Stylesheet des Themes kannst du dir hier auch noch einmal komplett herunterladen.
Ich hoffe auch dieser Teil des Tutorials, kann dir wieder bei der Entwicklung deines eigenen WordPress-Themes weiterhelfen. Bei Fragen und weiteren Tipps zum Video schreibe mir doch einfach einen Kommentar. Ich freue mich auf dein Feedback!
Weitere Teile des WordPress Video-Tutorials
- WordPress Video-Tutorial Teil 6: WordPress Testdaten importieren
- WordPress Video-Tutorial Teil 5: CSS3 Media Queries und der Viewport meta-tag
- WordPress Video-Tutorial Teil 4: Das Theme-Layout anlegen
- WordPress Video-Tutorial Teil 3: Die Theme-Übersetzung
- WordPress Video-Tutorial Teil 2: Das Toolbox Blank-Theme
- WordPress Video-Tutorial Teil 1: WordPress lokal installieren


Schreibe einen Kommentar