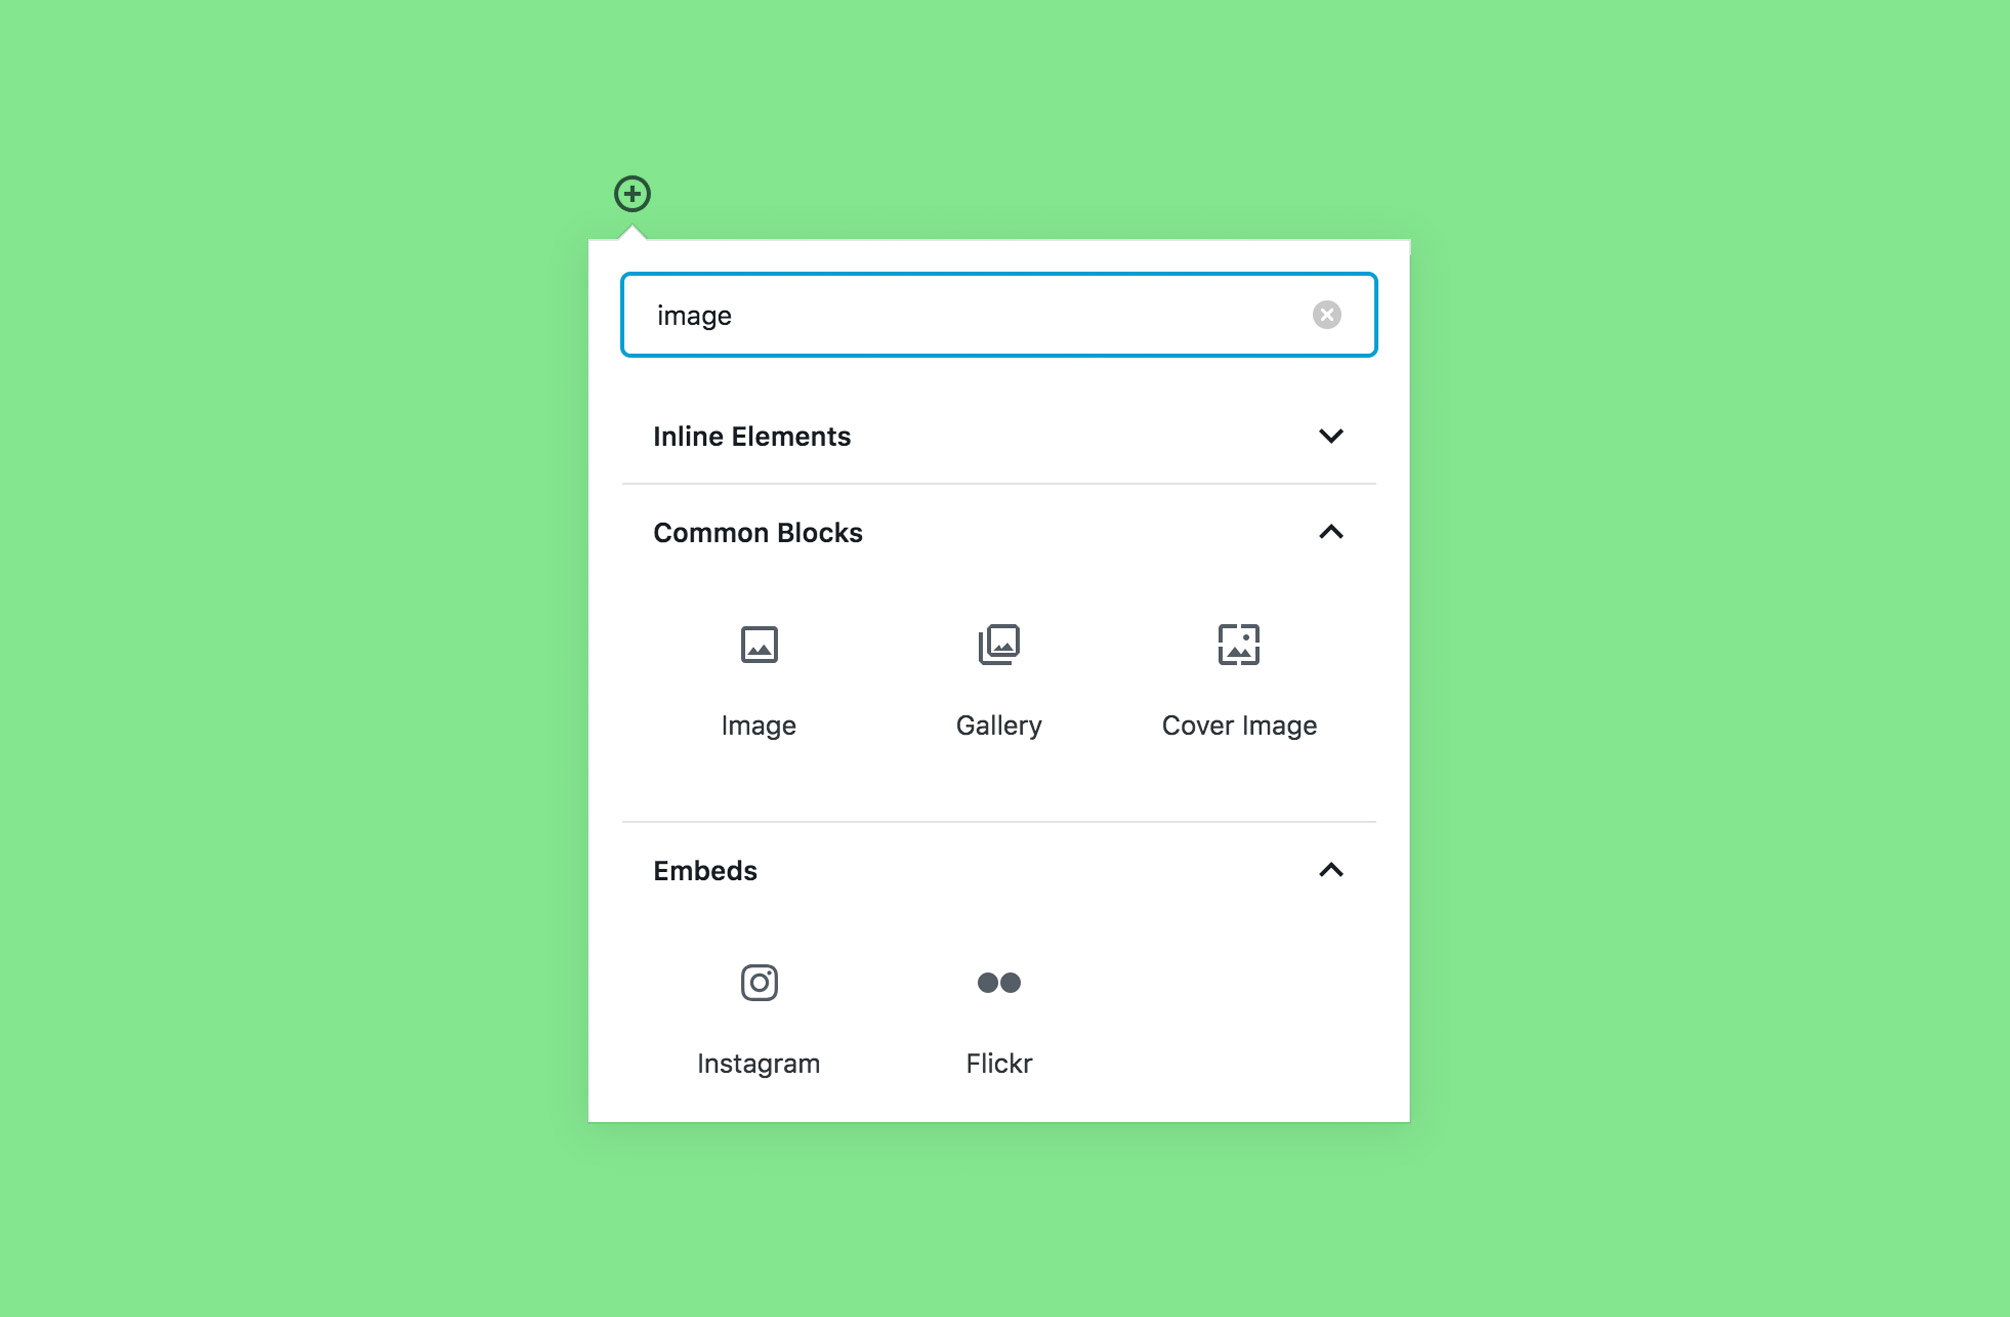
One of the cool features of the new Gutenberg editor is that it allows you to search for available block options (and there are a lot of them!). To find all image block options, click the add block icon and type images in the search bar. From there, you will see all of the image block options.
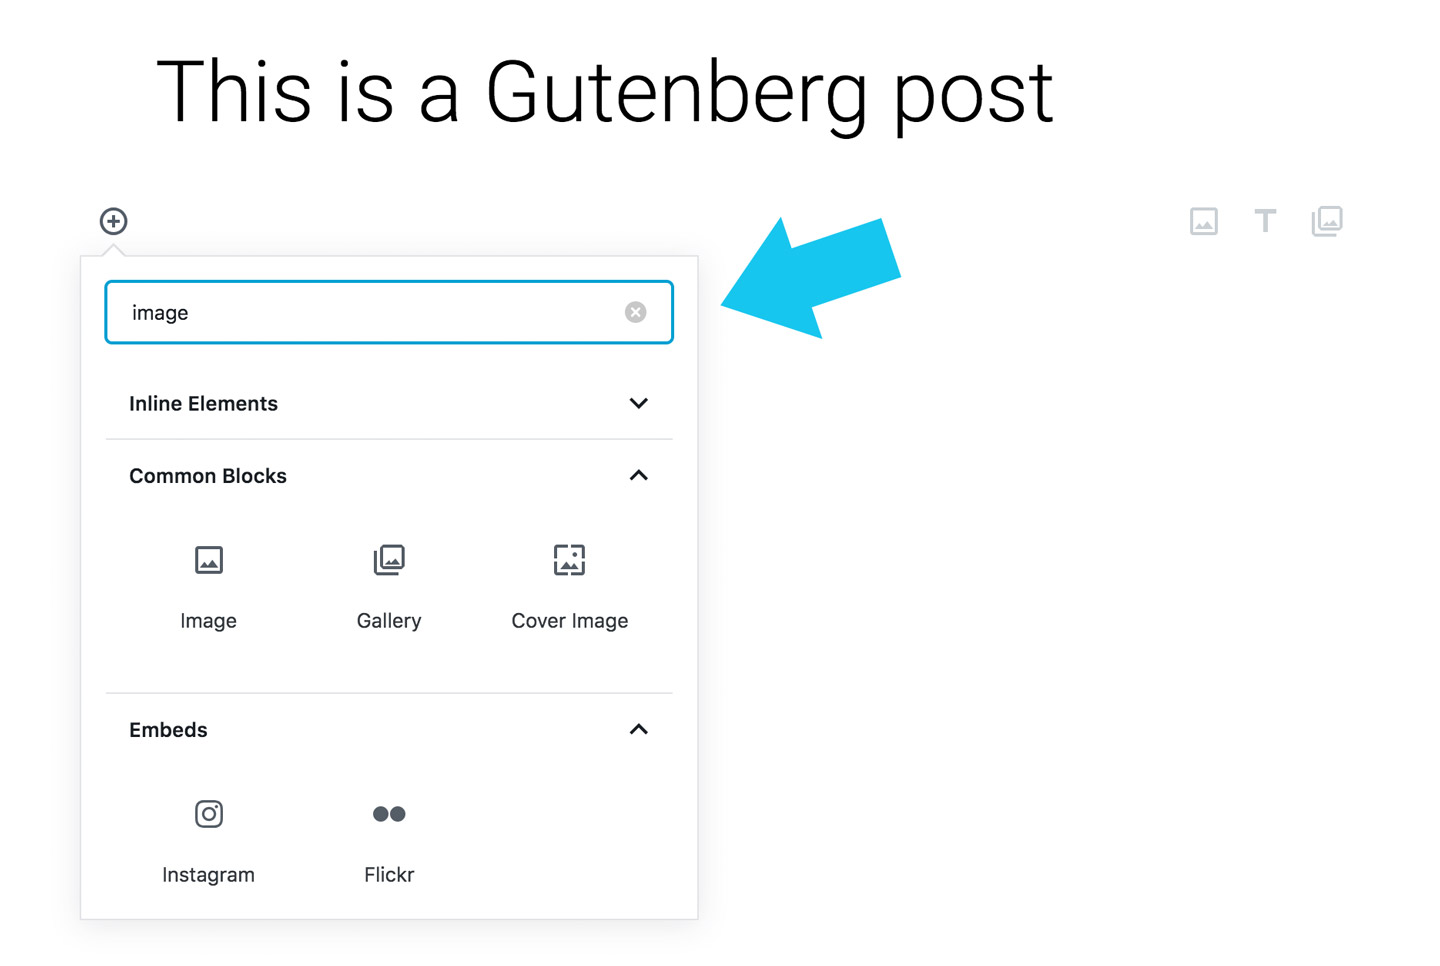
1. Image Block
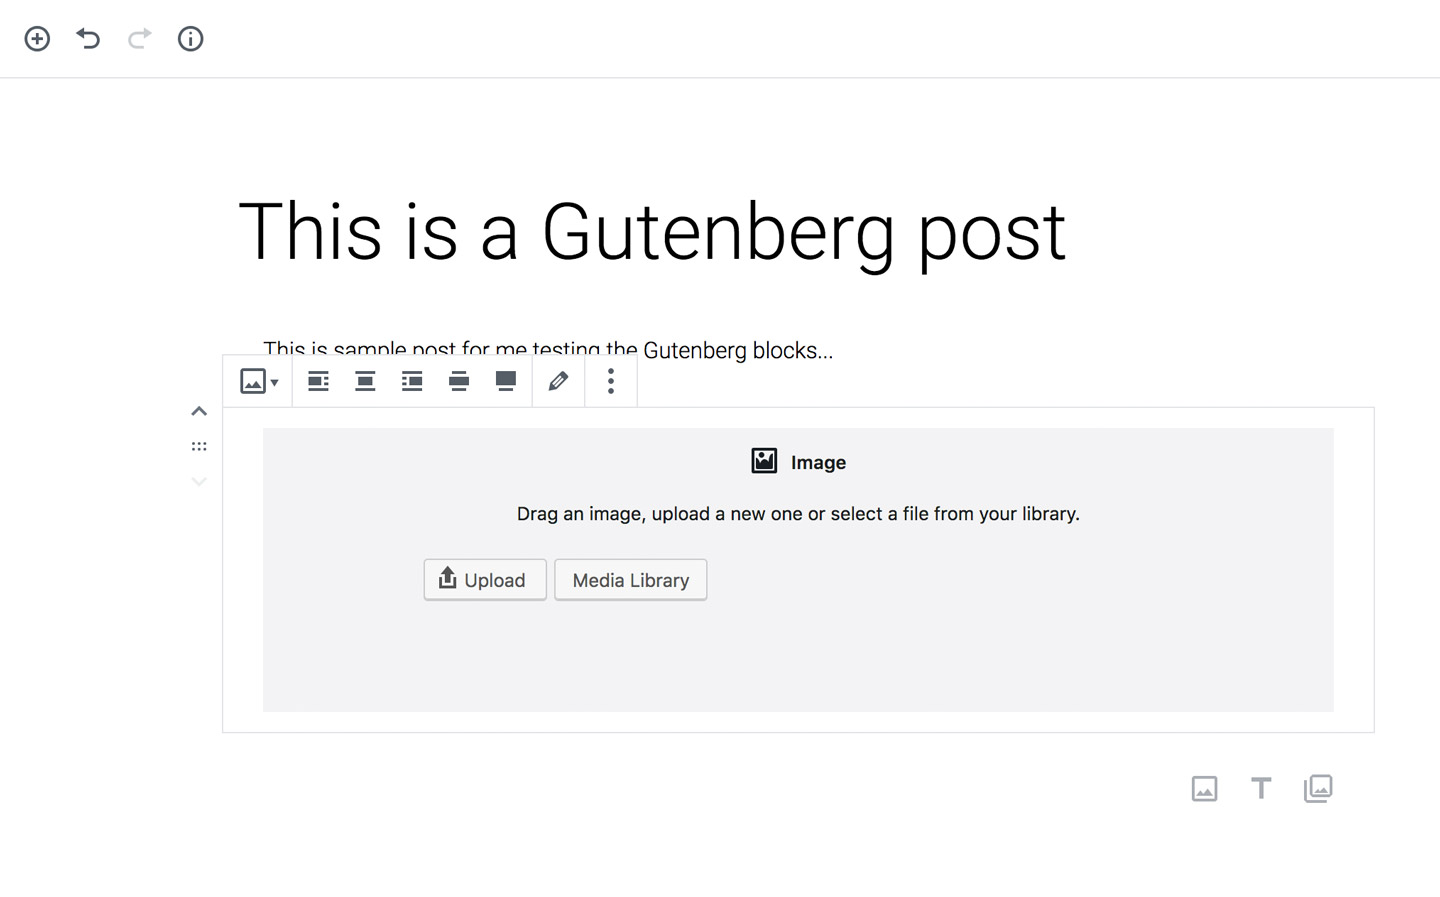
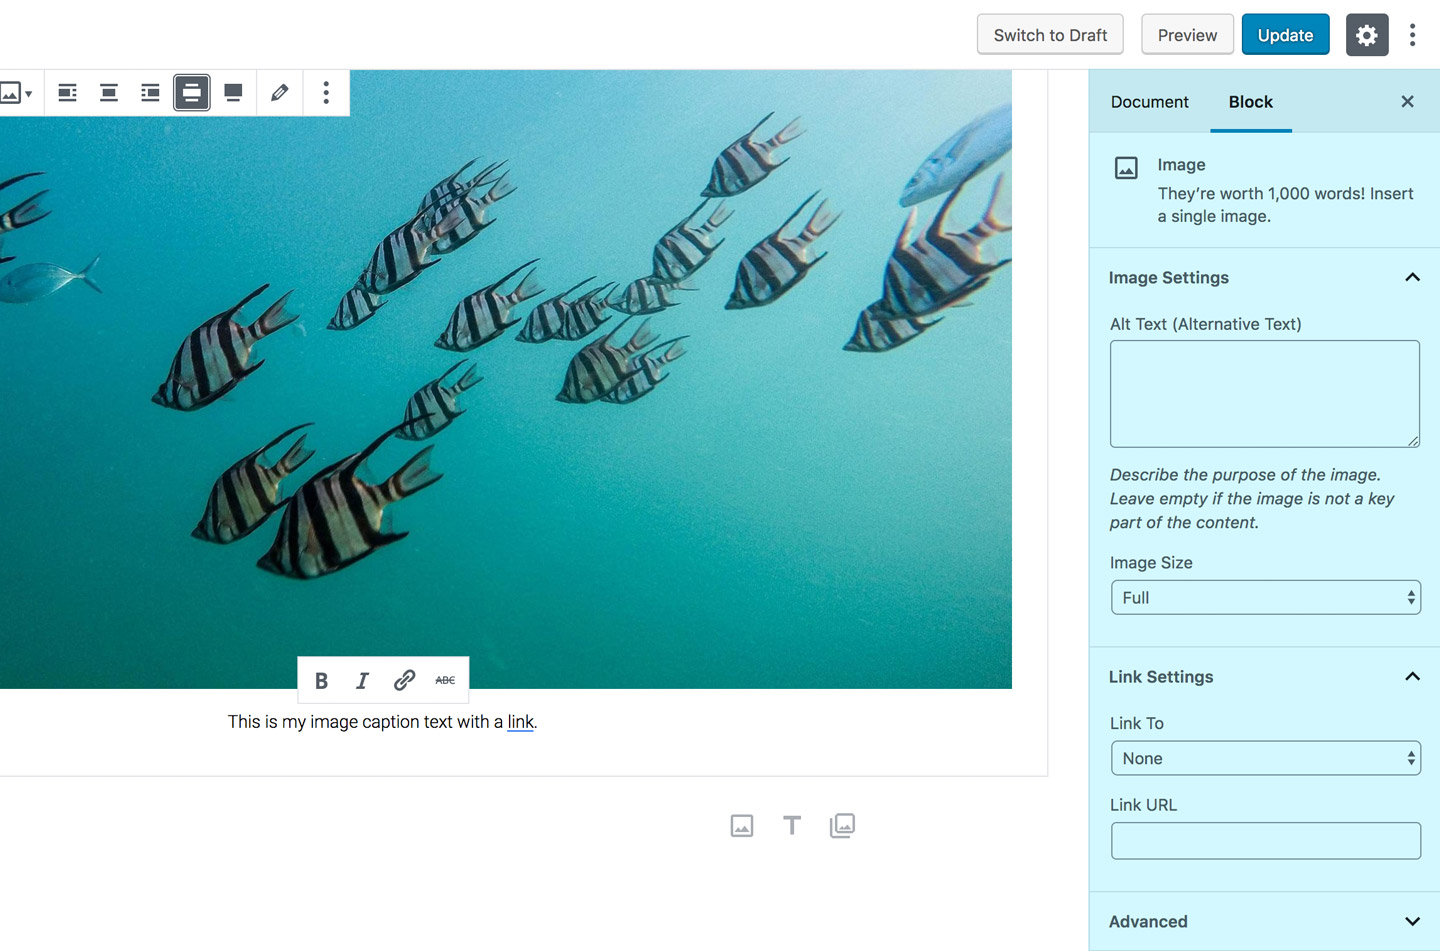
The most obvious option is the image block. Once you click on the image block, you can either upload an image from your computer or from the WordPress media library.
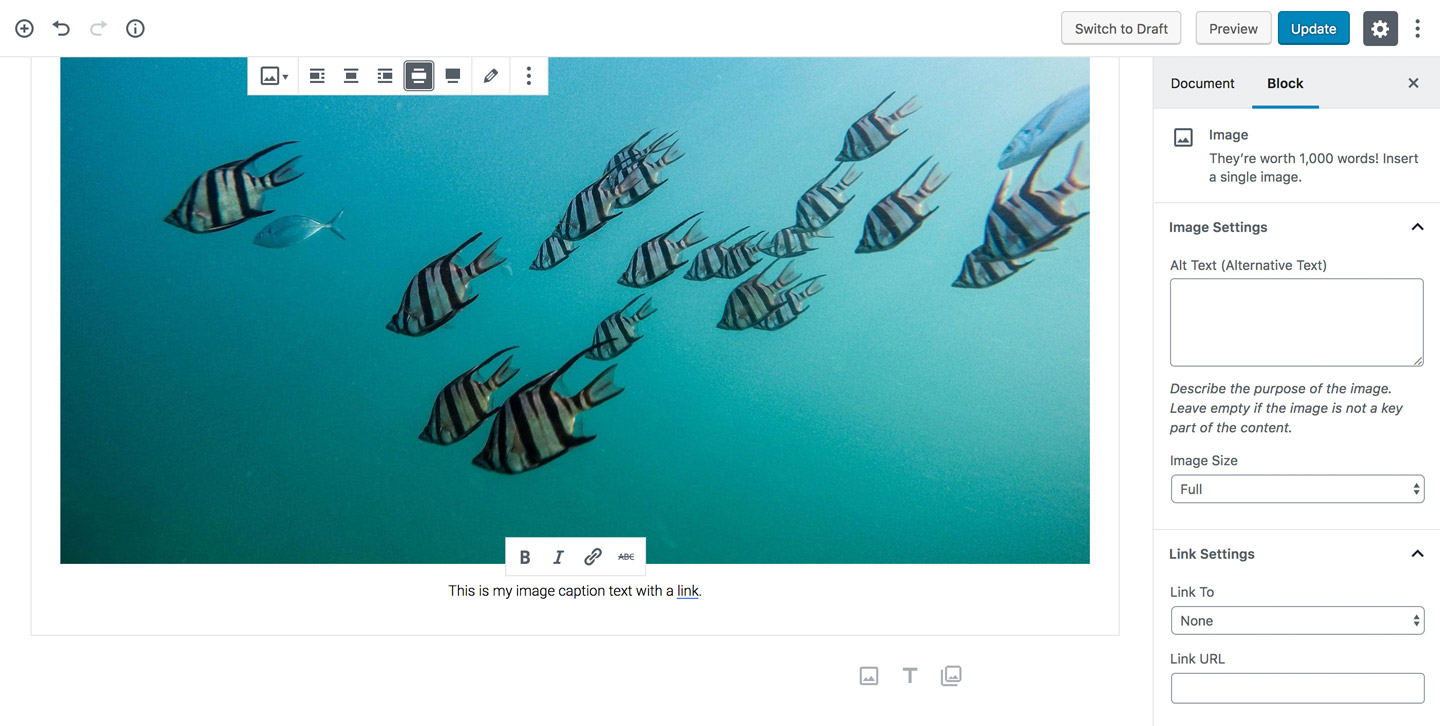
Once you upload your image you will see it in the block. You have the option to write a caption directly in the content area, including options with formatting and adding links.
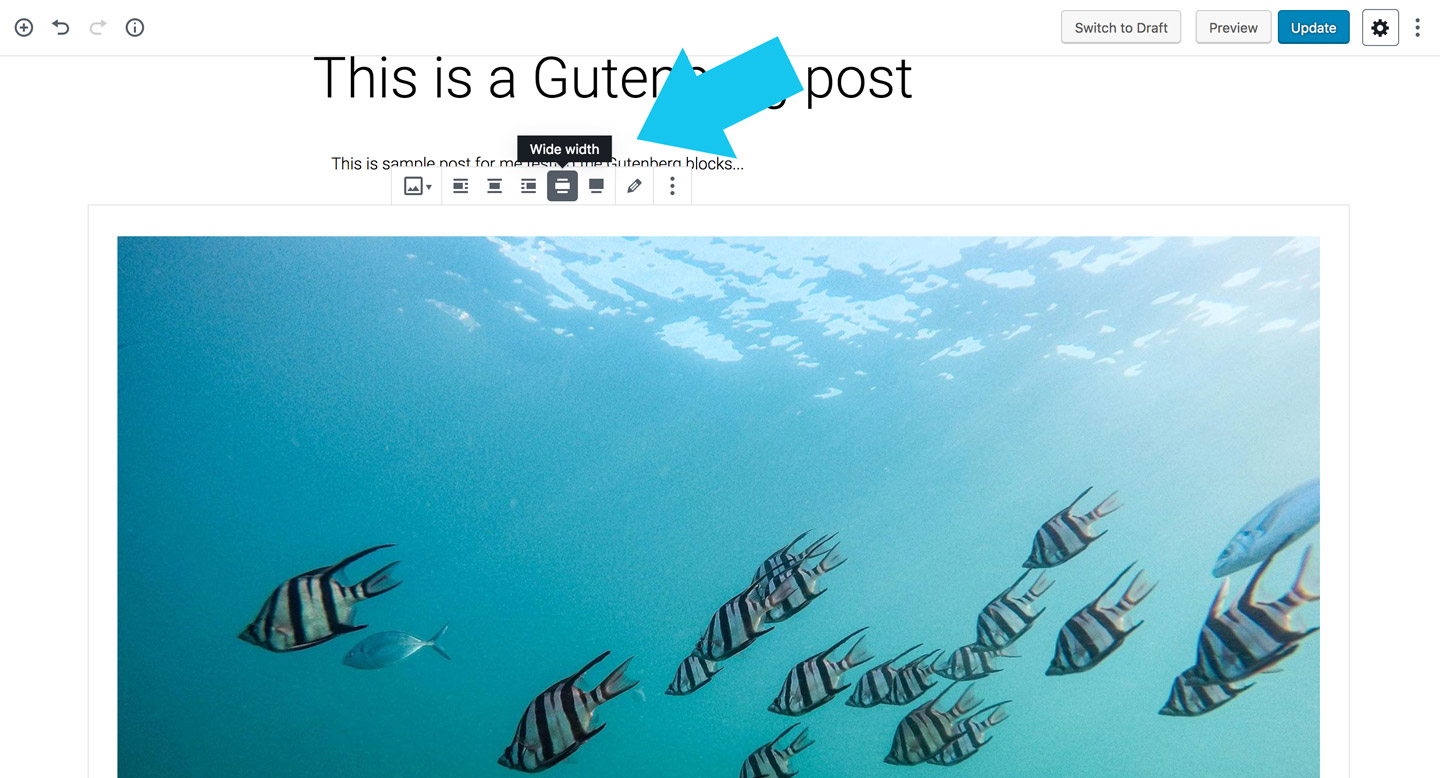
You can also choose left, centre, right alignment, or wide or fullscreen for the image. The wide width and full screen format is dependent on theme support.
Once your image is uploaded in the block, you can find more Advanced Settings by clicking on the settings icon at the top right corner. Here you can add Alt text, choose image size, change image dimensions, and/ors link settings.
2. Gallery Block
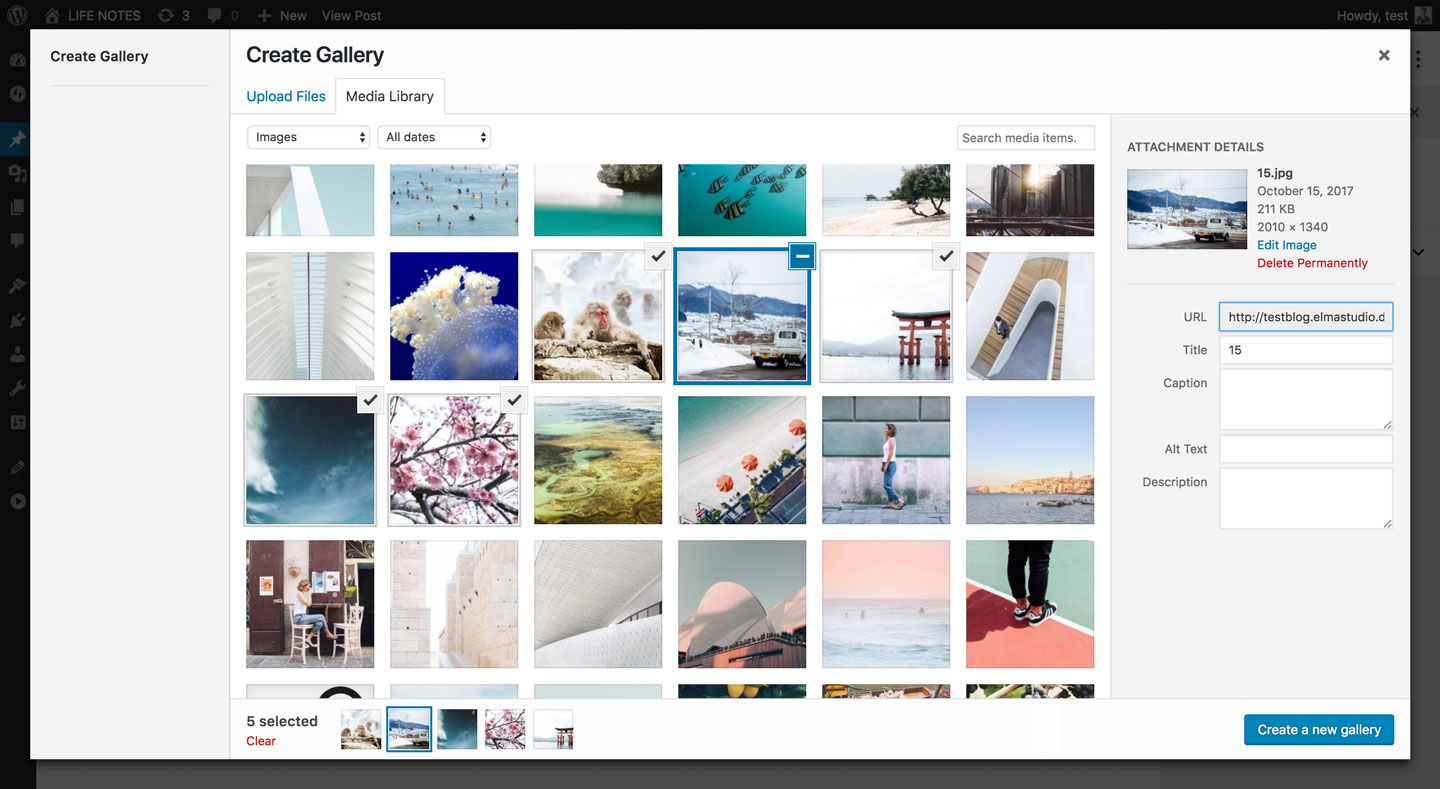
To add images for the gallery block, you can use the same steps as you did to add an image, simply by adding more than one image. You can choose multiple images at once. There’s a summary at the bottom showing selected images, if you hit clear then it deselects all of them.
If you want to deselect just one image, you click on the check mark icon on the image selected. Once you have all of your photos selected, click ‘create gallery’ and then ‘insert gallery’.
Now your gallery will be in your post content. You can write captions for each image directly in the editor, the image captions in the gallery show up directly over the image at the bottom.
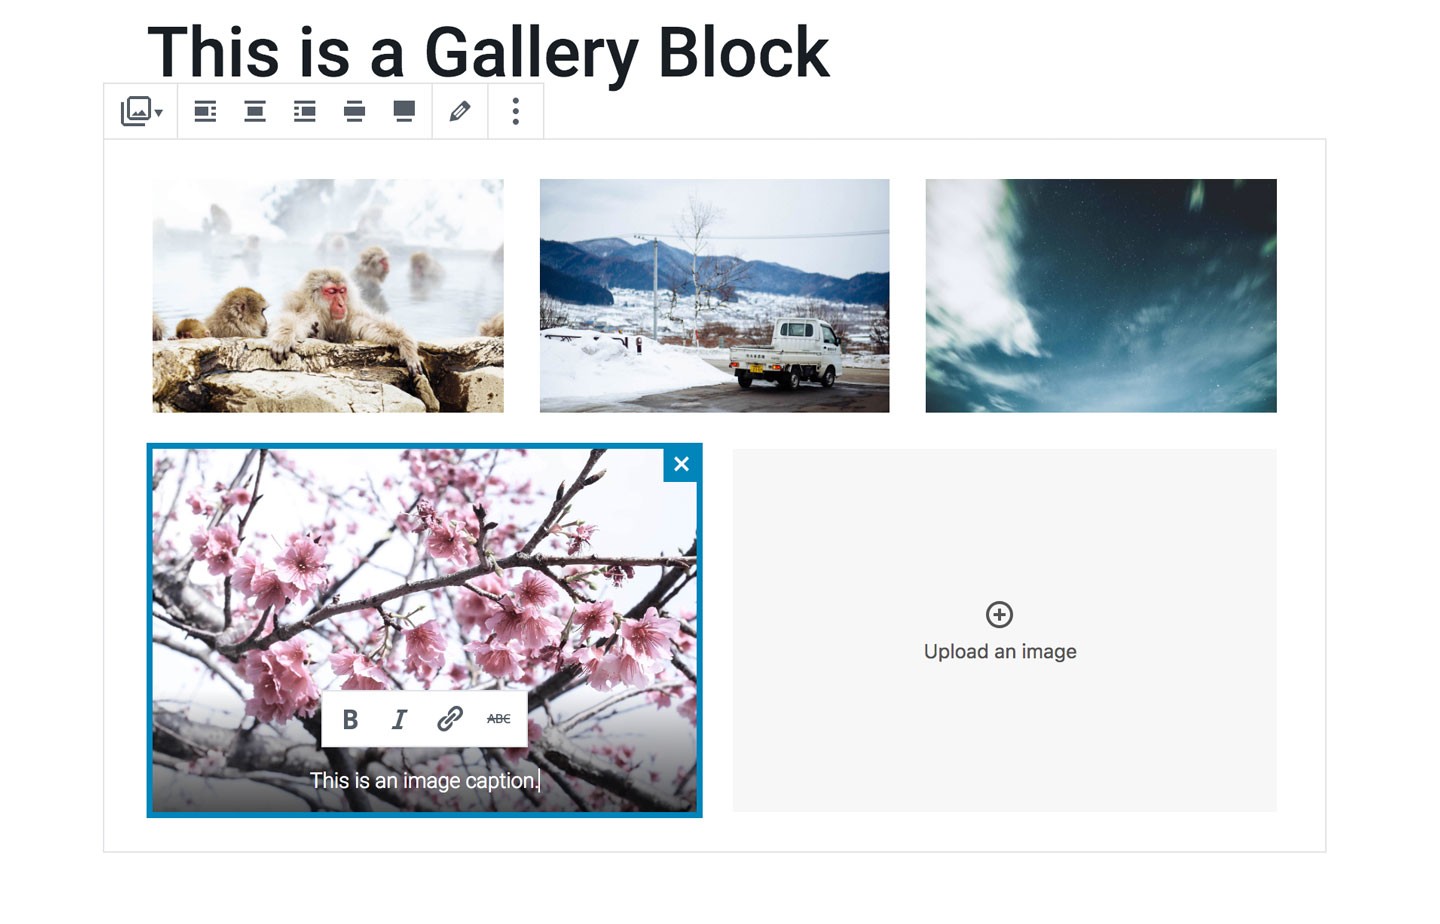
You can edit the styling or the caption and add a link just as you can in the image block. For the gallery block you can also have wide width and full screen mode.
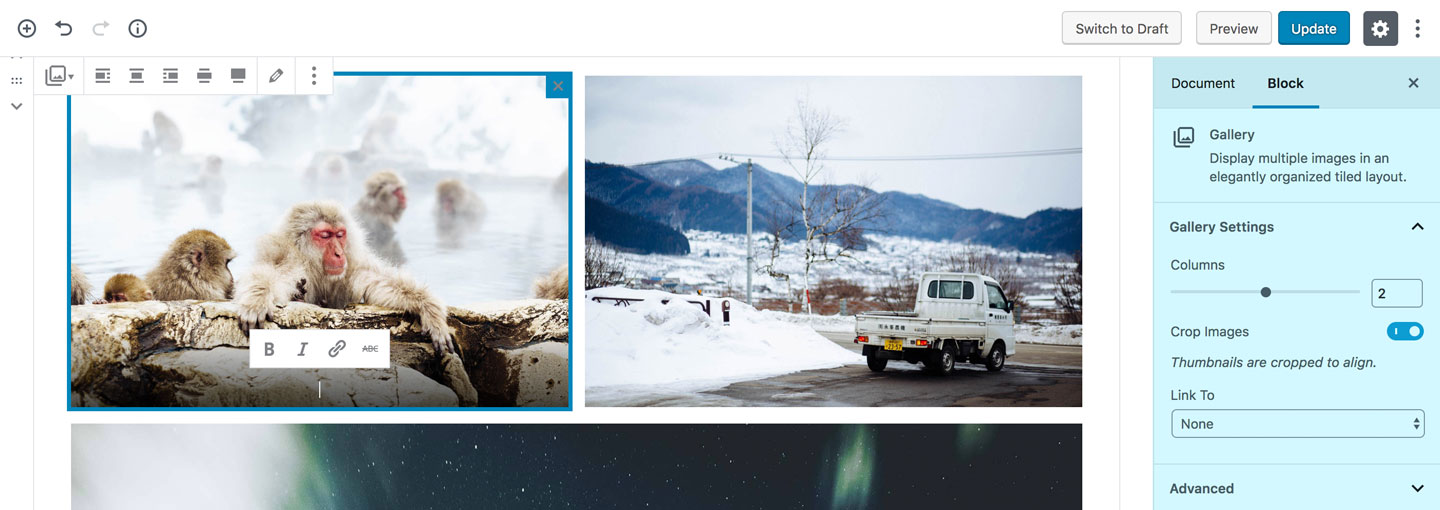
Gallery Block Settings:
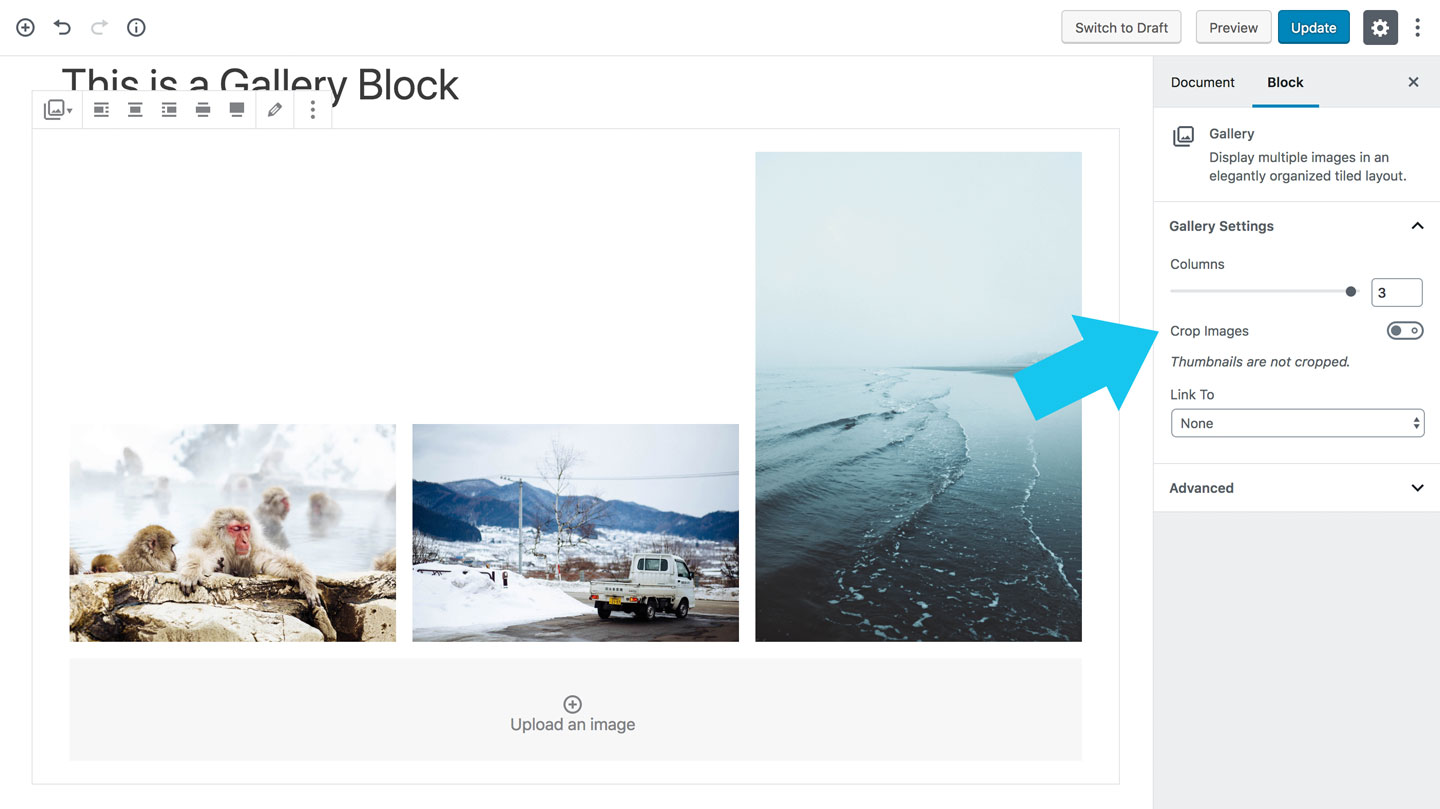
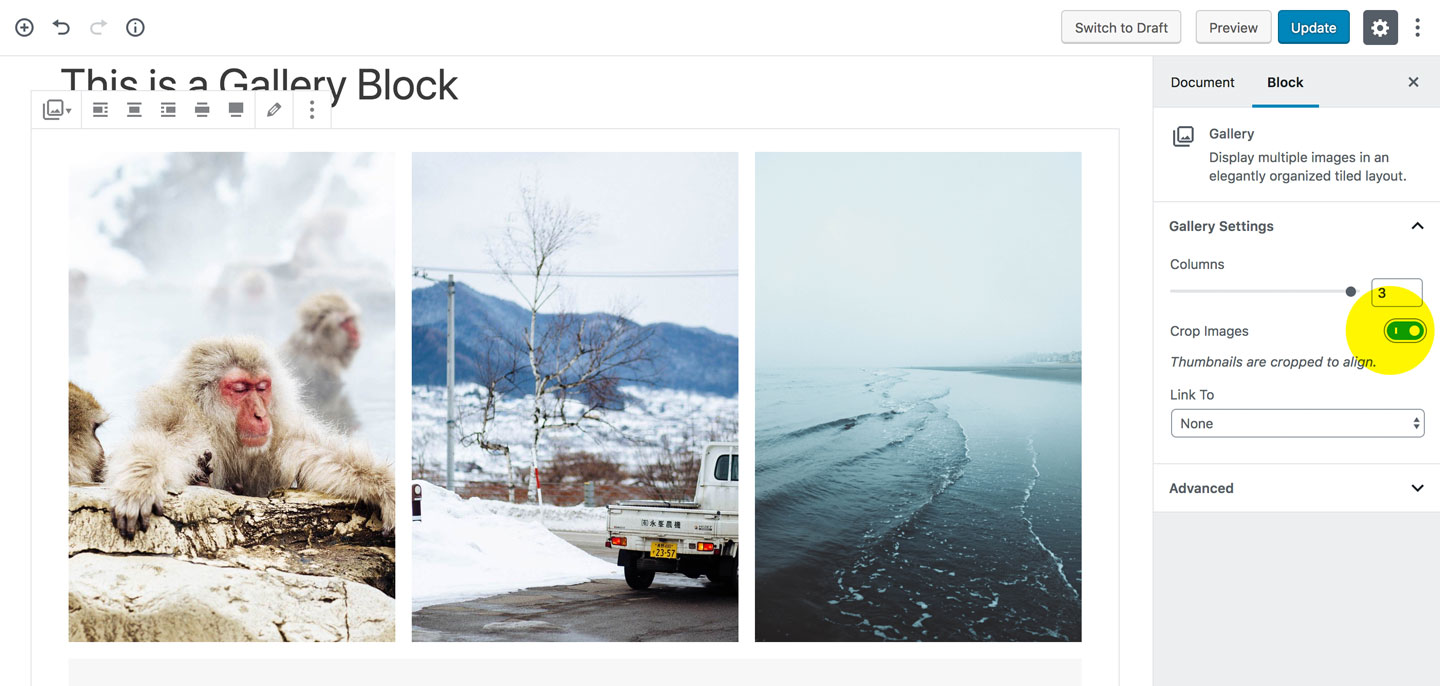
If you go to the settings, you’ll have some more options. If you change the columns for your gallery, depending on the number of images included, the last photo will stretch to full width. For example, if you have 3 images, and you choose 2 columns, then you will have the third image stretched out into full width.
You can also crop the images so they are the same height.
3. Cover Image
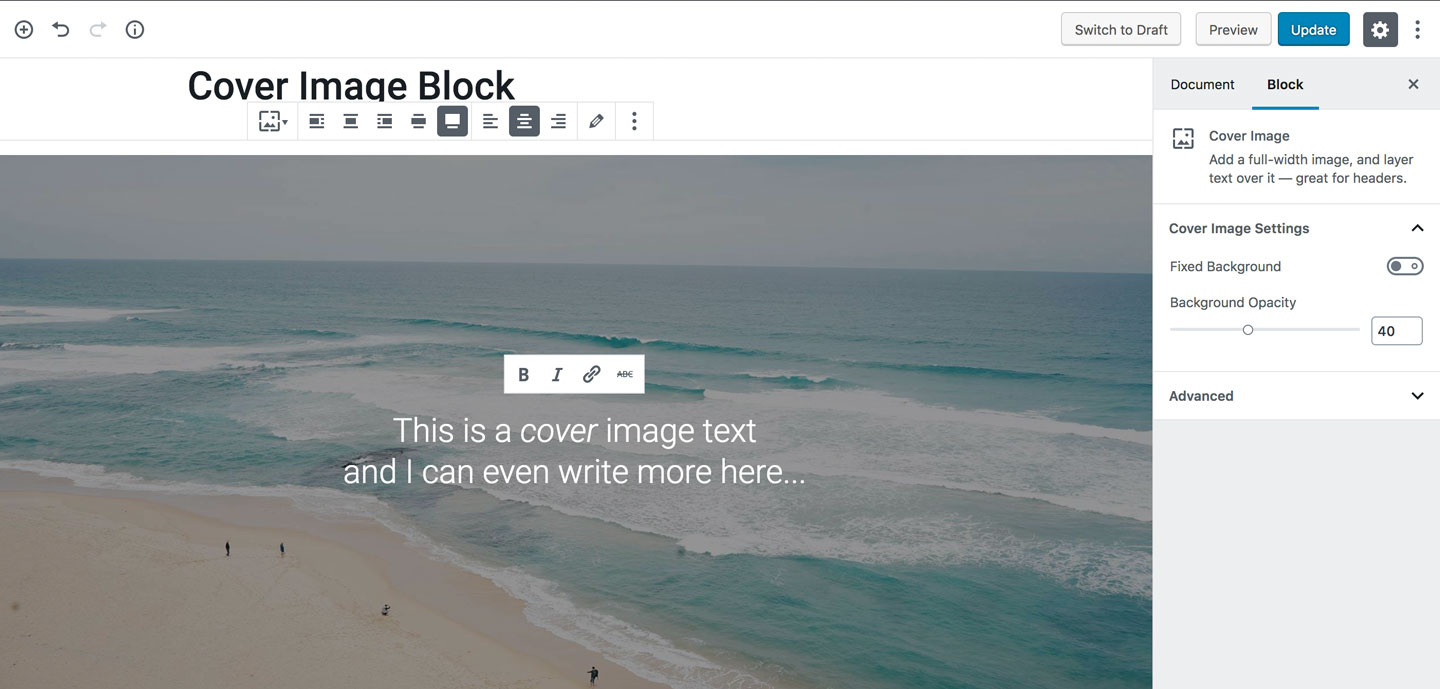
A cover image is an image with text on it. It’s mostly useful as a full screen or widescreen at the top of the page/post or as a divider for longer posts.
Once you edit your image, you can choose the widescreen or full screen and add the cover image text. It will show the dark overlay so you can write caption over image. It’s a good feature to build pages in Gutenberg.
Cover Block Settings:
You can adjust the opacity of the background image. For the fixed background option, if activated then the image is fixed to the bottom or top of the page.
4. Image Embed Blocks
There are a couple of embed blocks where you can embed your content from your social media websites. At the moment you can use Instagram and Flickr available but more will likely be added soon. As an example, we will use Instagram.
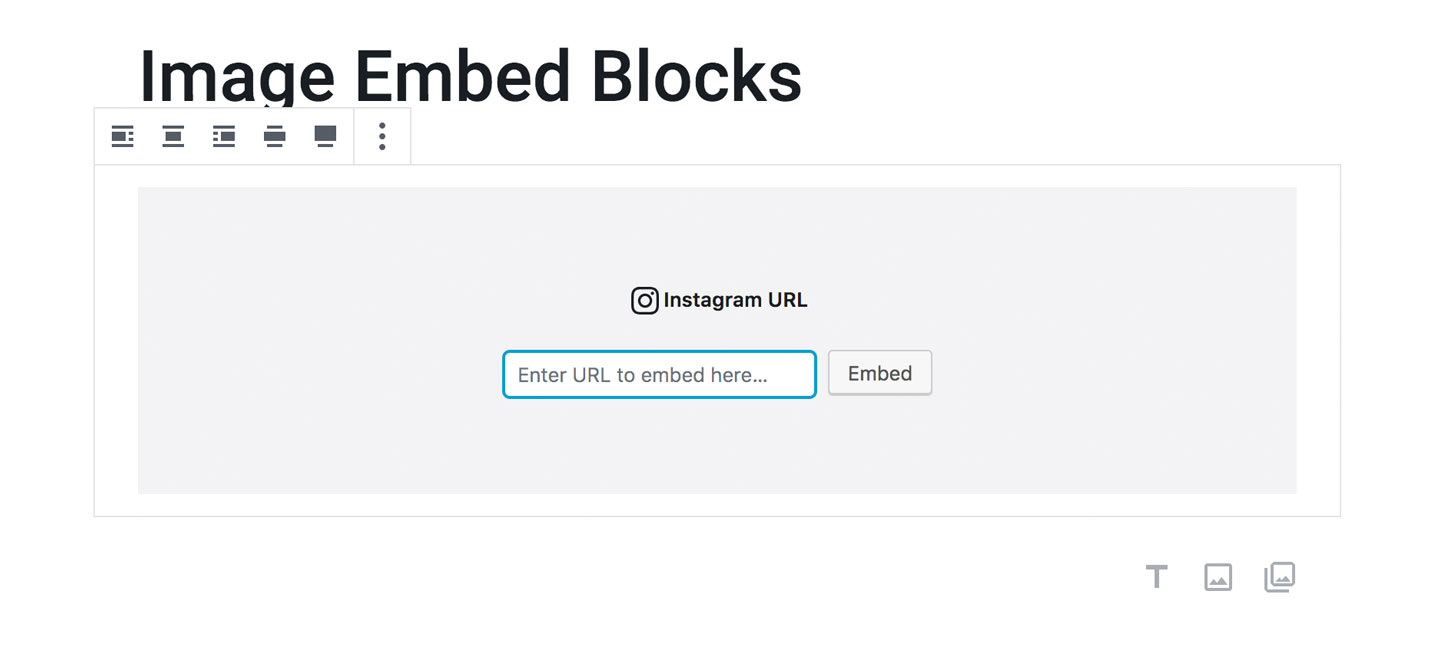
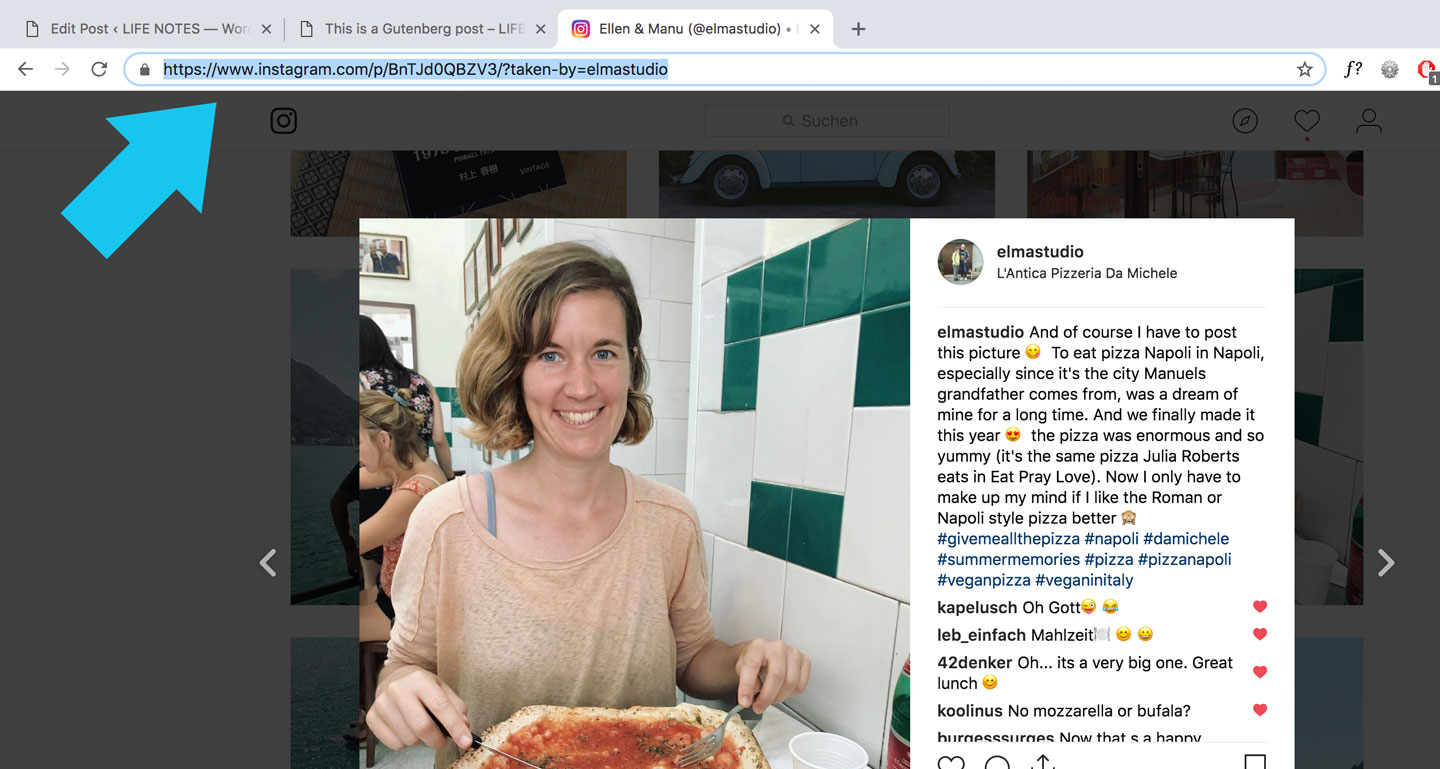
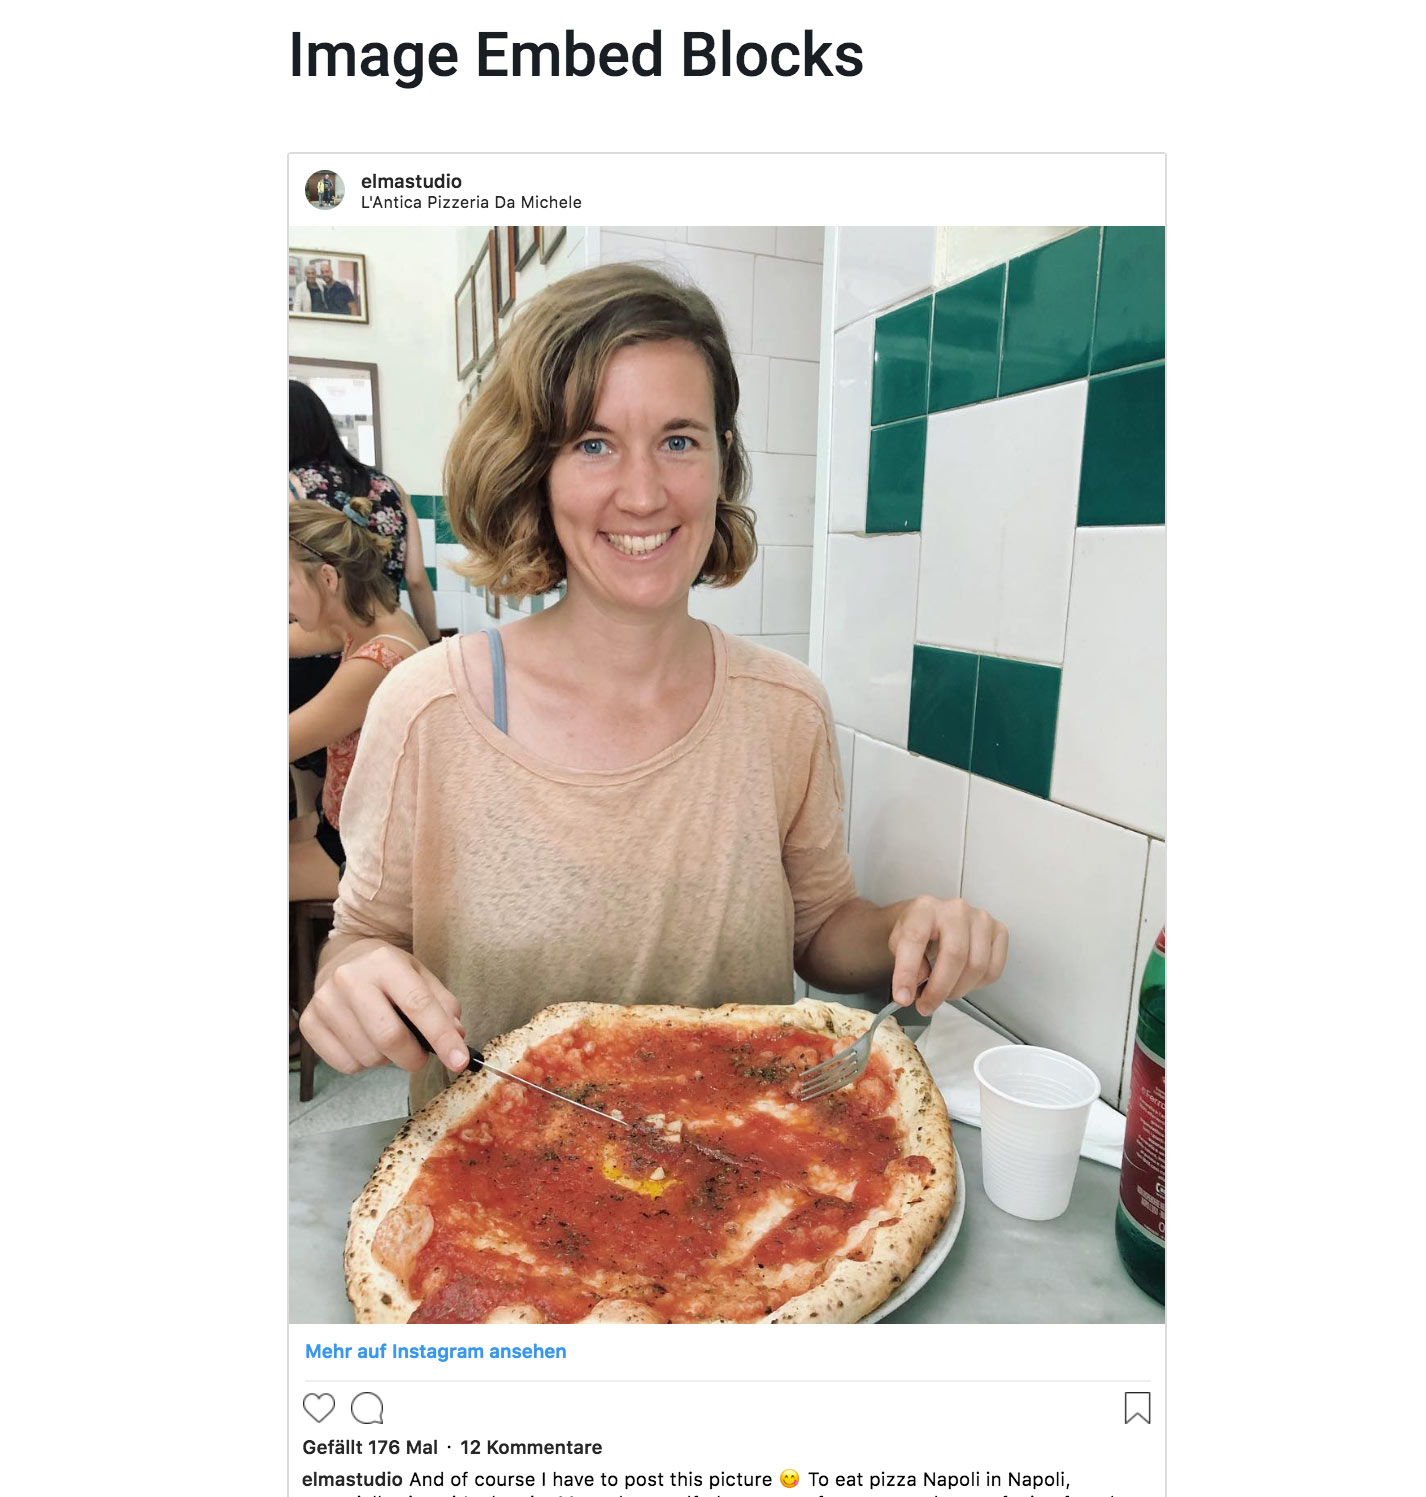
Add your Instagram URL and it will add the image Instagram style (with likes, comment, Instagram border).
For now, it’s not possible to include the whole feed. In the future, there will most likely be a lot of plugins to include different options (e.g. an Instagram feed or multiple Instagram posts).
Feedback and Questions
The new Gutenberg editor makes it simple to add images and image options to your posts and pages. We hope you find this post helpful and we are keen to hear your helpful hints for images and Gutenberg in general. Feel free to comment :)

Leave a Reply