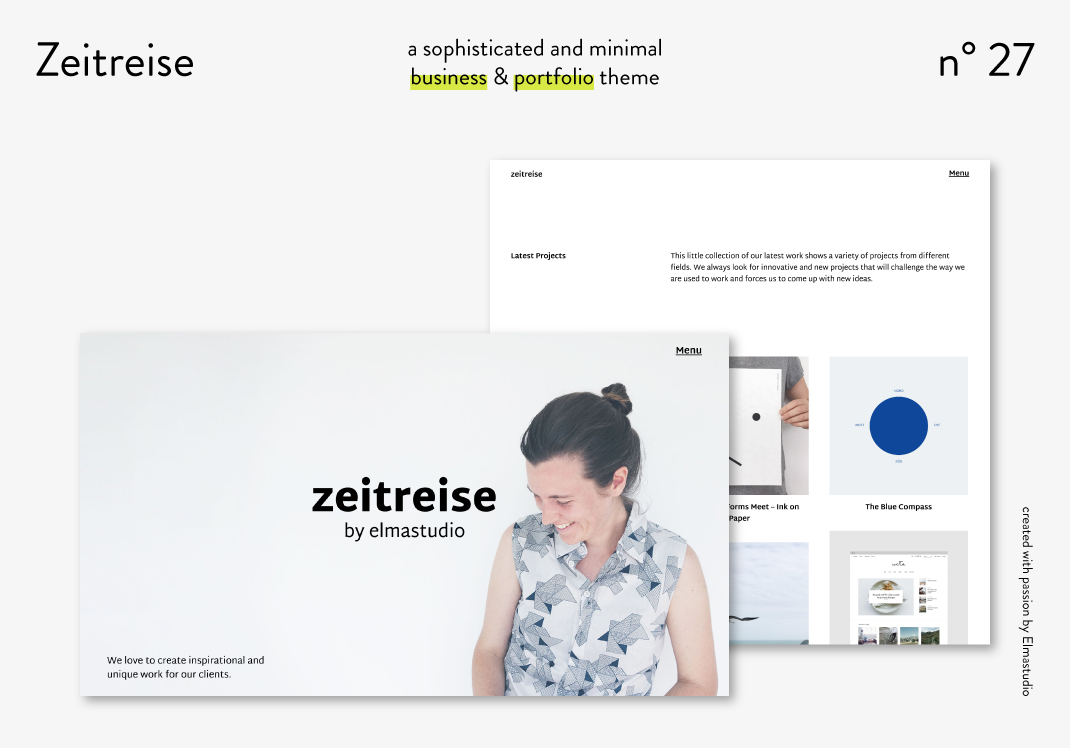
Wir freuen uns riesig Dir heute unser allerneuestes WordPress-Theme „Zeitreise“ präsentieren zu können. Zeitreise ist ein minimalistischesBusiness und Portfolio Theme mit einem responsive Design, das sowohl für mobile Geräte als auch für große Monitore optimiert ist.
Das Design von Zeitreise ist schlicht, modern und großzügig und bietet einen wahren Hingucker für deine Webseite. Außerdem haben wir Zeitreise mit jeder Menge Optionen ausgestattet, so dass das Theme so ziemlich alles bietet, was man sich bei einem Business & Portfolio-Theme nur wünschen kann.
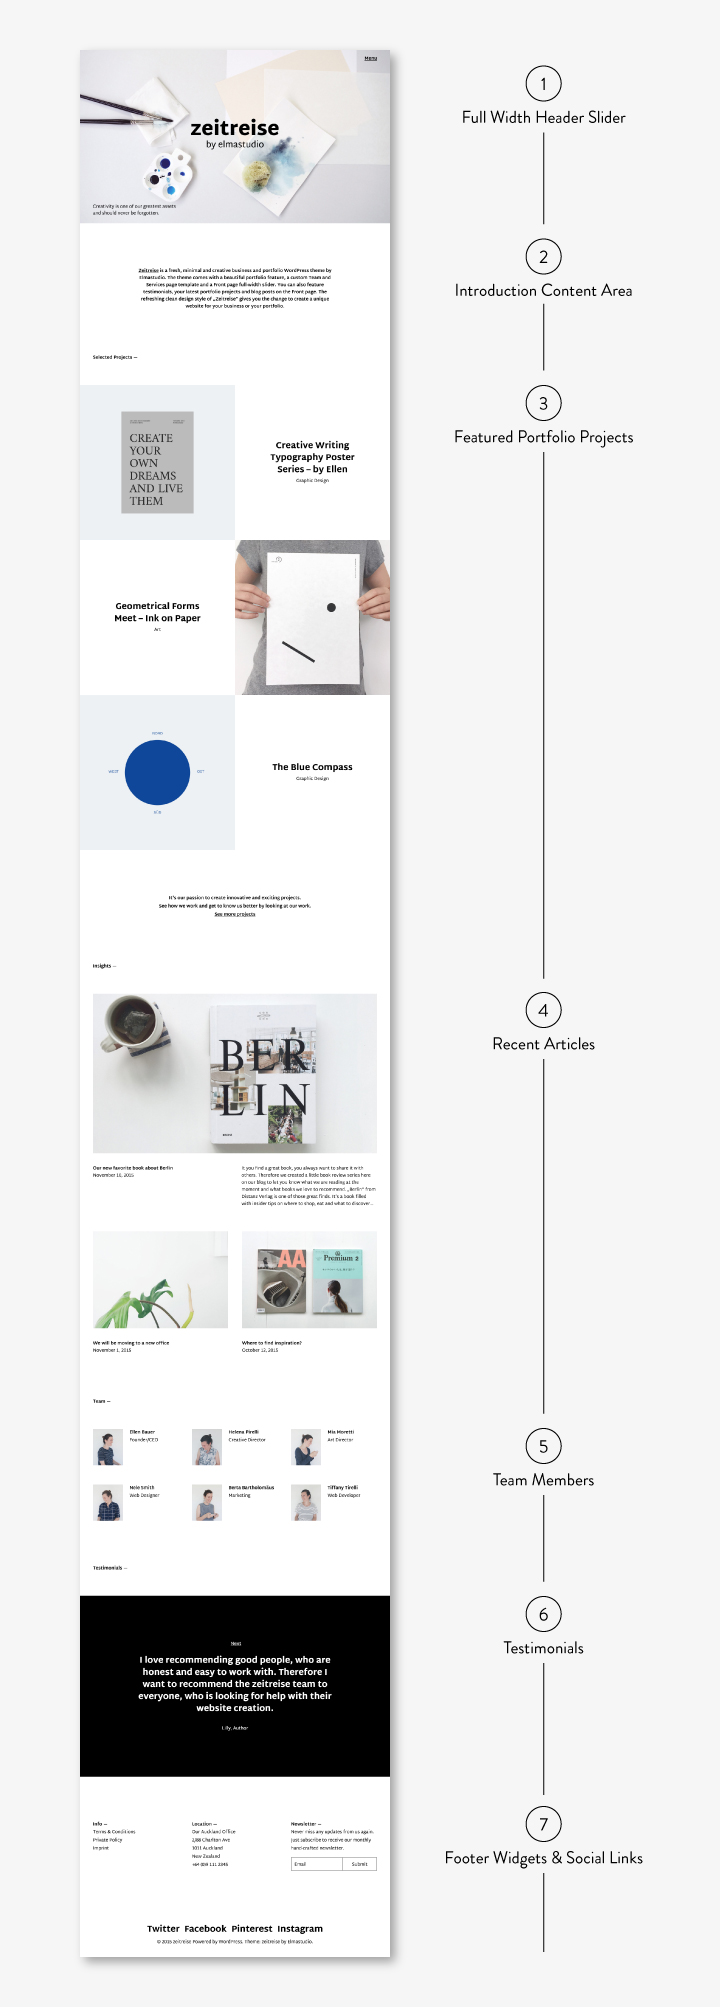
Die Startseite
Die individuelle Startseite ist das Highlight von Zeitreise und beginnt mit einem Fullscreen-Slider (oder alternativ mit einem Full-width Headerbild). So kannst du deine Webseiten-Besucher gleich mit schönen, atmosphärischen Bildern auf den Besuch deiner Webseite einstimmen.
Weiter geht’s mit einer Anzahl an Portfolio-Projekten, neuesten Blog-Artikeln, einem Team-Bereich und einem Slider für Kunden-Empfehlungen. Natürlich sind alle Elemente optional, so dass du dir deine Startseite wirklich ganz individuell einrichten kannst.
Overlay-Bereich und Footer
Zeitreise kommt besonders schön schlicht und clean daher, da das Hauptmenü und ein Widgetbereich in einem Overlay-Menübereich eingebunden sind. So kannst du deine Webseite wunderbar minimalistisch halten und trotzdem wichtige Hintergrund-Infos und das Hauptmenü in einem schicken Overlay-Bereich ständig zur Verfügung stellen.
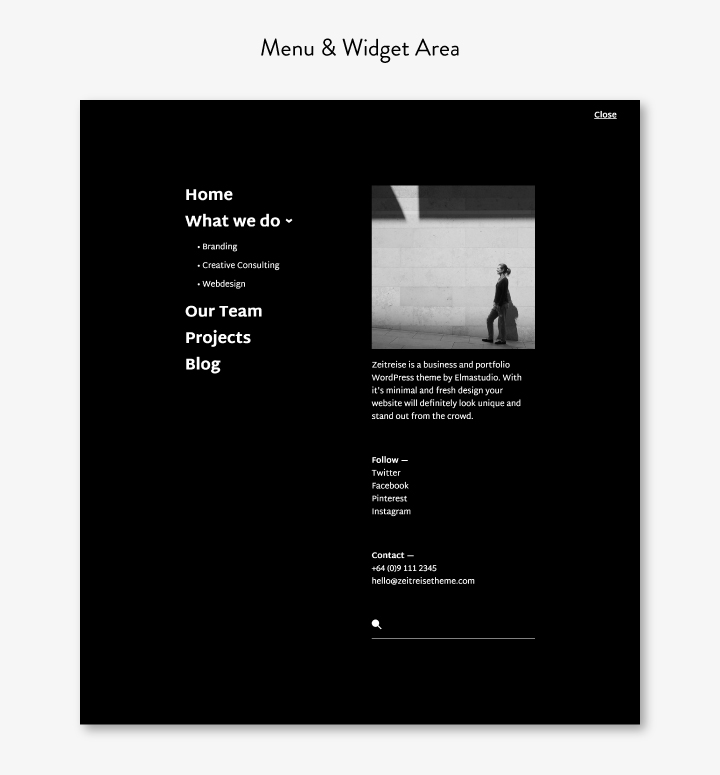
Da gerade auf einer Business-Webseite Infos wie Kontakt, Anschrift und Newsletter besonders wichtig sind, kannst du diese Infos zusätzlich in einem dreispaltigen Footerbereich anzeigen. Im Footer gibt es über ein Social-Footermenü auch noch einmal die Option, auf deine Social-Sites hinzuweisen.
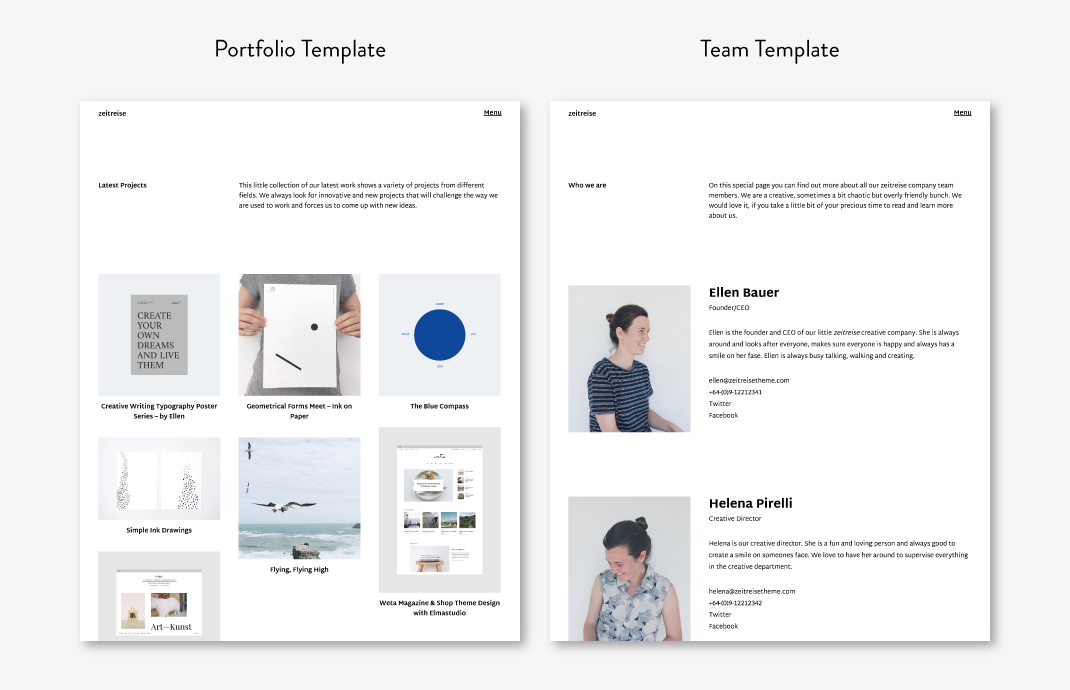
Das Portfolio
Das Zeitreise-Portfolio wird mit Hilfe von Jetpack umgesetzt. Nach der Plugin-Installation kannst du deine Portfolio-Projekte anlegen. Eine bestimmte Anzahl deiner neuesten Projekte kannst du auf deiner Startseite featuren. Um alle Projekte anzuzeigen, haben wir ein Portfolio-Seitentemplate für Zeitreise eingerichtet. In den Theme-Optionen (unter Design / Anpassen) kannst du bestimmen, ob du das Portfolio ein-, zwei- oder dreispaltig anzeigen lassen möchtest. Durch das Masonry-Grid-Layout wird deine Portfolio-Übersichtsseite also auch noch einmal zu einem weiteren Hingucker deiner Webseite.
Weitere Seiten-Templates und Theme-Highlights
Neben der Startseite und dem Portfolio hast du außerdem noch die Möglichkeit eine Team-Seite (siehe Team-Seitentemplate) zu zeigen, um alle Team-Mitglieder deines Businesses zu featuren.
Außerdem bietet Zeitreise ein Services-Seitentemplate an, so dass du in einem ansprechenden Layout präsentieren kannst, was du bzw. deine Firma anbietet.
Um Kundenempfehlungen auf der Startseite zu zeigen, kannst du außerdem mit Hilfe der „Custom Content Type“-Einstellung von Jetpack Testimonials (Kundenempfehlungen) anlegen. Eine bestimmte Anzahl der Empfehlungen (die Anzahl kannst du in den Theke-Optionen unter Anpassen / Design / Startseite bestimmen) kannst du dann in einem coolen Slider zeigen. Die Farbe des Slider- und Overlay-Hintergrundes kannst du übrigens auch im Customizer anpassen.
Dein Feedback
Wir hoffen dir gefällt unser Zeitreise-Theme und du hast Lust darauf, deine Webseite mit Zeitreise einzurichten. Schaue dir doch am besten gleich die Zeitreise Live-Demo an, um das Theme besser kennenzulernen. Wenn du Fragen zum Theme hast oder Feedback, schreibe uns einfach einen Kommentar. Wir freuen uns schon sehr von dir zu hören!
Benötigte Bildmaße für Zeitreise:
Portfolio: Mindest-Breite 1280px
Blog-Artikel: Mindest-Breite 1005px
Sticky Posts (groß auf der Startseite): 2010px breit
Services-Bilder: 1280px breit
Schreibe einen Kommentar