We are happy to introduce our newest Premium WordPress Theme Dorayaki to you. Dorayaki is a Business and Portfolio theme with easy-to-use options to setup individual pages for your website. With the help of page widgets you can easily set up a Meet the Team, Services, Testimonials, Portfolio or Contact page.
The Individual Front Page
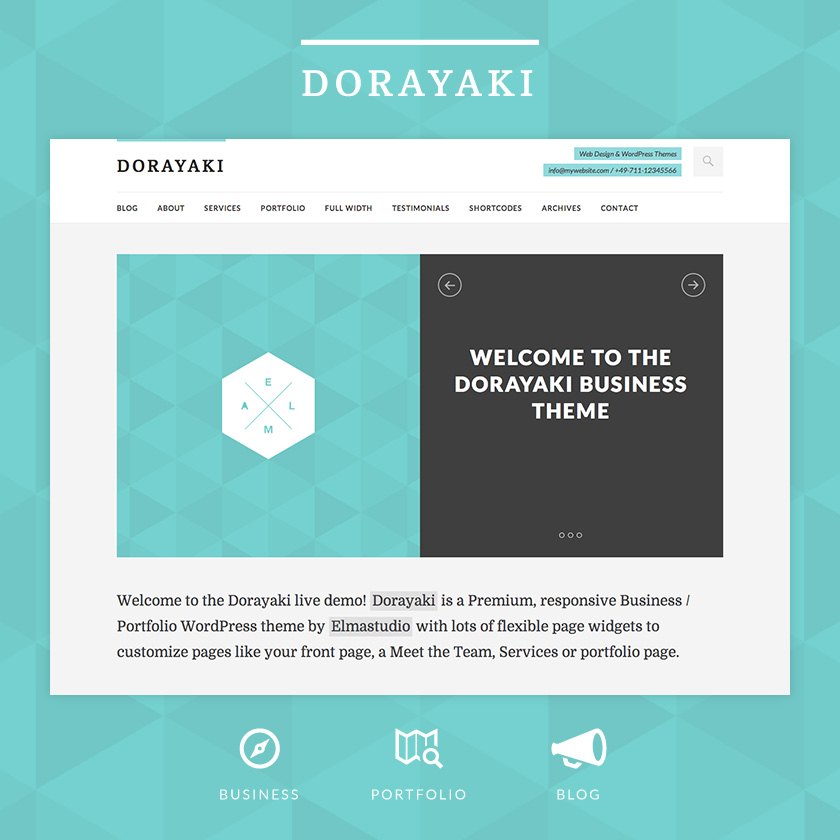
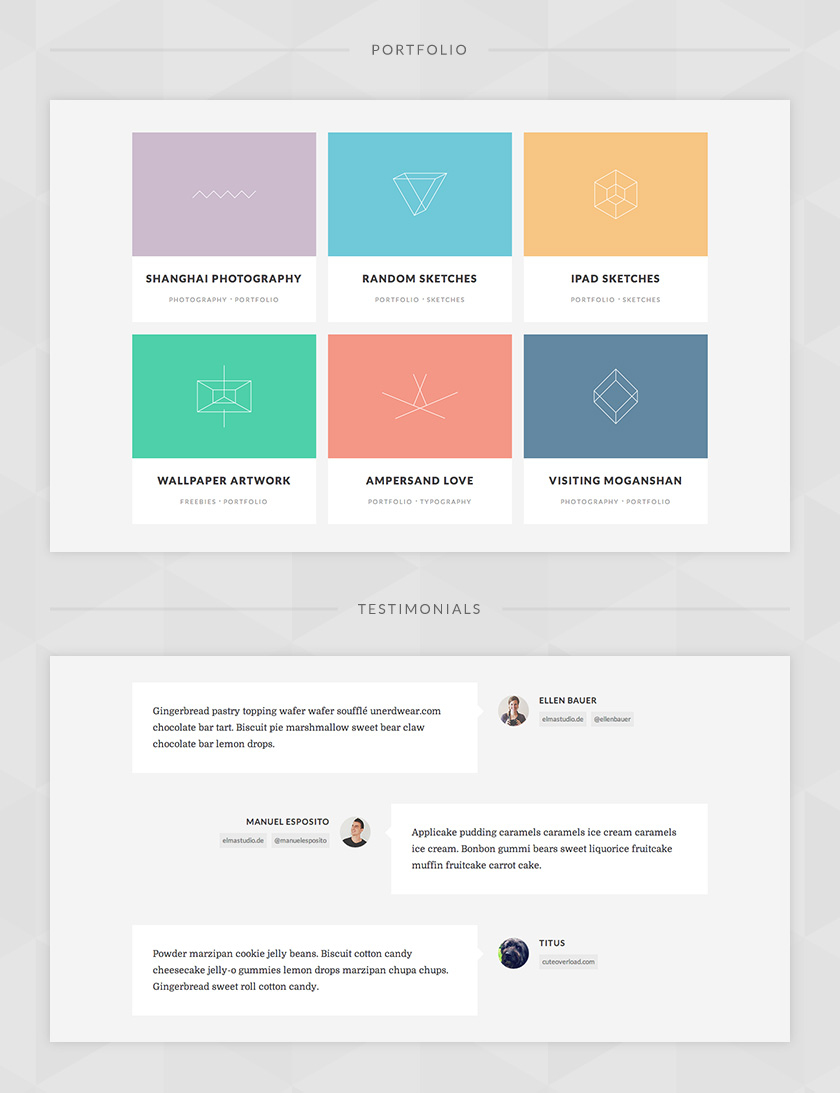
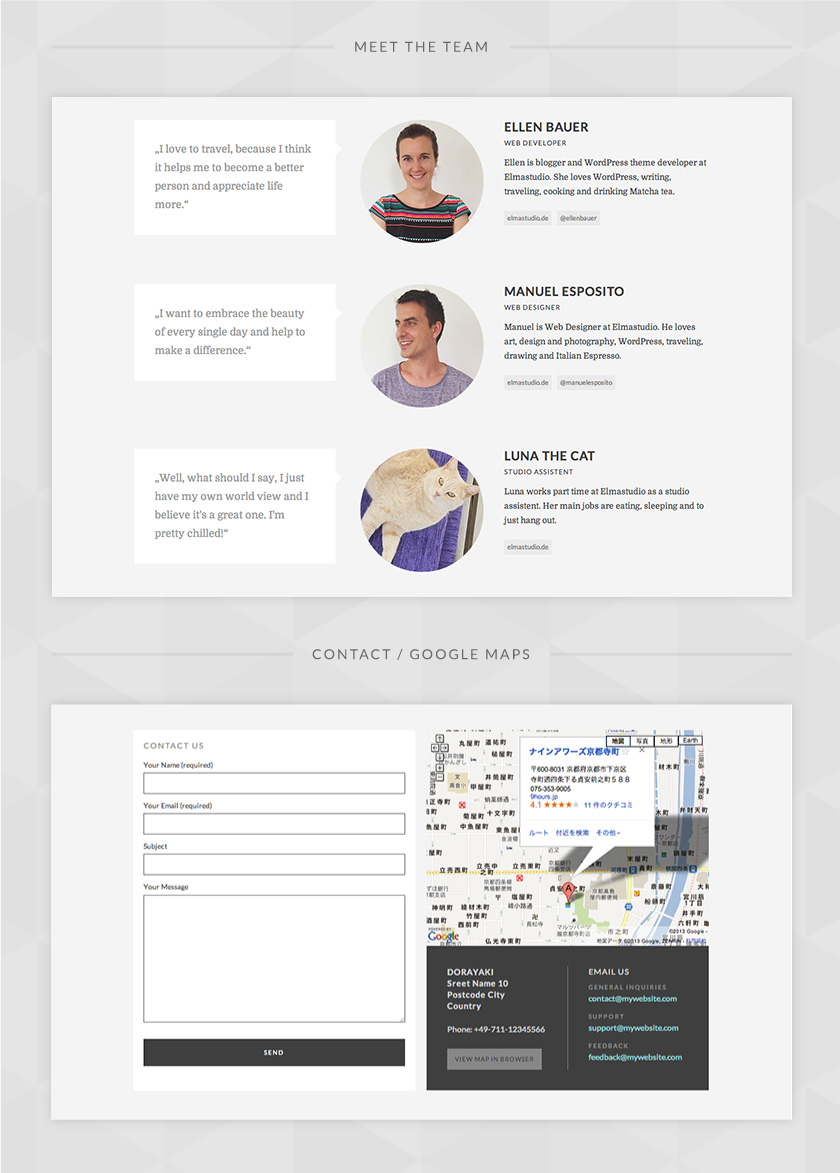
A special Dorayaki theme highlight is the possibility to create a custom front page instead of the default blog page. You can set up different widget areas for your front page and this way include your most important services, newest portfolio projects, a contact area with Google Maps integration or a team member area in your front page.
Of course you can still show your latest blog posts, so your readers can always catch your companies or freelancer business latest news. The front page also has an image slider or header image option, that you can include at the top of the page.
Widget Areas for Pages
to use the flexible widget modules in the Dorayaki theme, you just need to install one of the practical page widget WordPress plugins. With “Widget for Pages” or “Widgetize Pages Light” you can set up custom widget areas in minutes. then you can fill your new widget areas in Appearance / Widgets with the custom Dorayaki widgets and include the widget areas with a shortcode into your pages.
The Dorayaki Blog
Of course Dorayaki also comes with a beautiful blog option, so your readers, customers or members can always know whats going on in your business. You can publish standard posts, quotes, link posts and short aside notes with the Standard, Quote, Link or Aside post formats. As usual you can also include images, image galleries, videos or audio strings in all posts.
Page Templates
Next to the default page template with a right aligned sidebar you can use a centered page template without sidebar (here you can also include full width page elements with the help of a shortcode), a full width page template and a page template for your blog archives.
Sidebar, Header and Footer Widgets
So all your important information is always accessible for your website visitors next to the main sidebar widget area, you can include widgets in a three column footer widget area and use the header info widget to show your profession, email address and phone number.
Live Demo and Documentation
We hope you like the Dorayaki design and the flexible theme options. To get to know the theme, just head over to the Dorayaki Live Demo, and get more information about Dorayaki on the Dorayaki theme page (including a theme video and detailed text documentation).
We are already looking forward to hear your feedback, suggestions and questions regarding the Dorayaki theme!
Leave a Reply