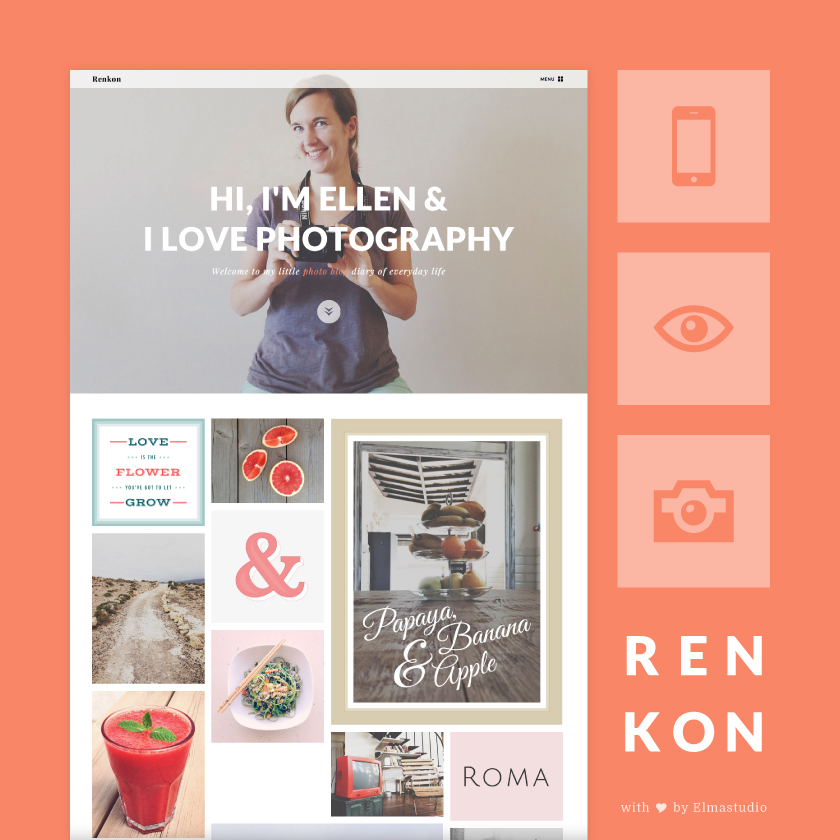
Renkon ist unser neuestes Premium WordPress-Theme für Fotografie-Fans. Renkon hat ein minimalistisches, responsive Grid-Layout, mit dem du leicht einen wunderschönen Foto-Blog deiner Bildern erstellen kannst. Das Theme bietet außerdem ein großes Headerbild-Feature mit Platz für einen Intro-Slogan, die Off Canvas Sidebar (von Mobile bis Desktop) schafft jede Menge Platz für eine großzügige und offene Präsentation der Bilder.
[white_box] Schaue dir die Renkon Live-Demo an oder hol dir das Renkon-Theme für 12€ (inkl. MwSt.) direkt auf der Renkon-Themeseite. Alle Theme-Bundle Besitzer erhalten Renkon übrigens automatisch in ihrem Theme-Bundle Paket. [/white_box]
Fotobloggen leicht gemacht
Mit Renkon ist das Veröffentlichen von Bildern, Artikeln und Bildergalerien ganz einfach und du kannst dir schnell einen wunderschönen Foto-Blog einrichten. Das Theme unterstützt die WordPress-Artikelformate „Standard, Bild und Galerie“. Bild- und Galerie-Artikel werden dabei automatisch mit Vorschaubildern (Thumbnails) veröffentlicht, für Standard-Artikel kannst du die WordPress Thumbnail-Funktion nutzen, um auch längere Artikel (z.B. Fotoreise-Berichte) mit Vorschaubildern zu präsentieren.
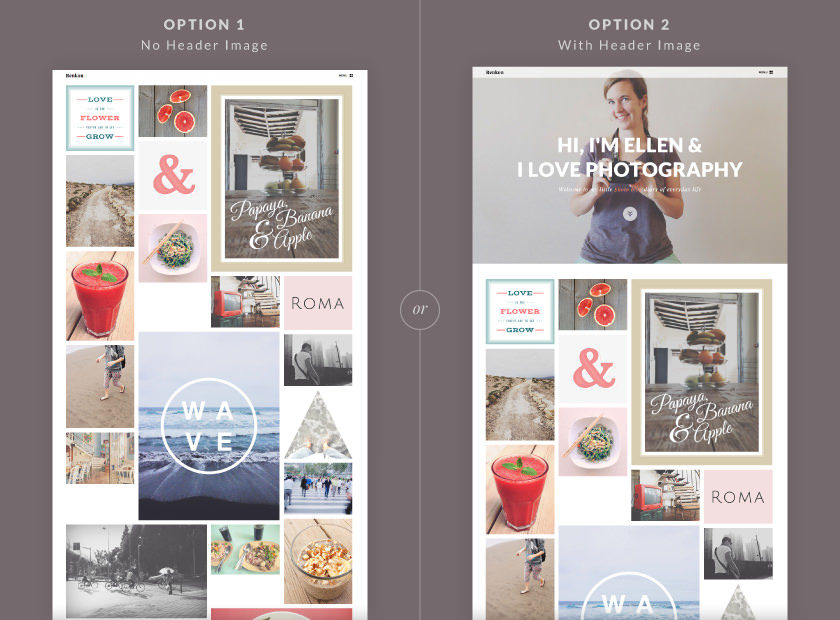
Große Headerbild-Option
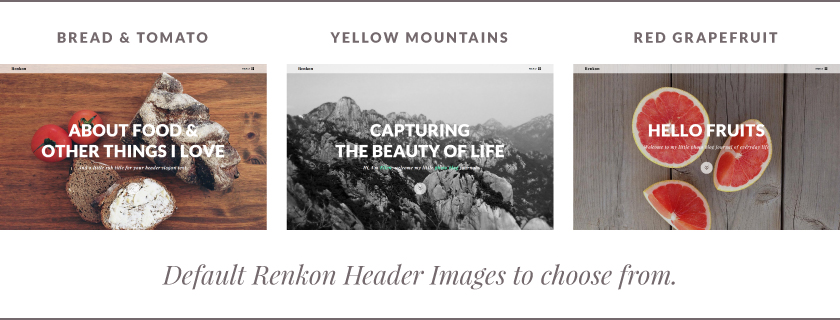
Als Intro zu deinem Foto-Blog hast du im Renkon-Theme die Möglichkeit ein großes Headerbild (Maße 1440px x 900px) auf der Blog-Seite zu zeigen. Um deine Webseiten-Besucher zu begrüßen, kannst du außerdem einen eigenen Intro-Slogantext über die Renkon-Theme Optionenseite einfügen.
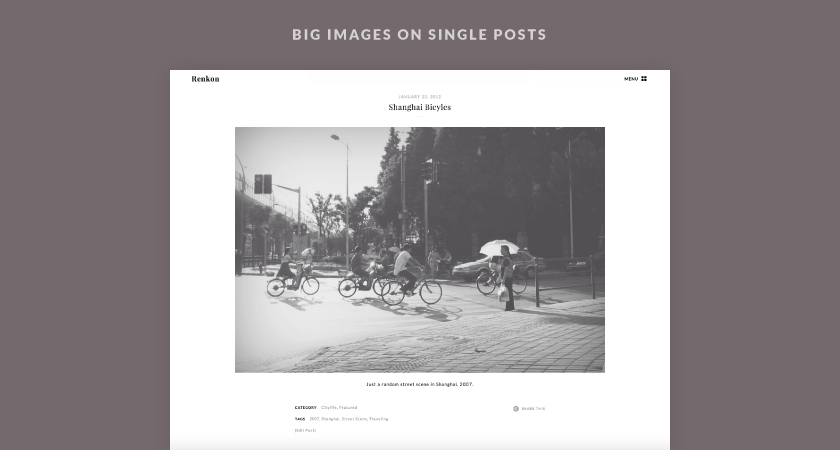
Deine Fotos groß featuren
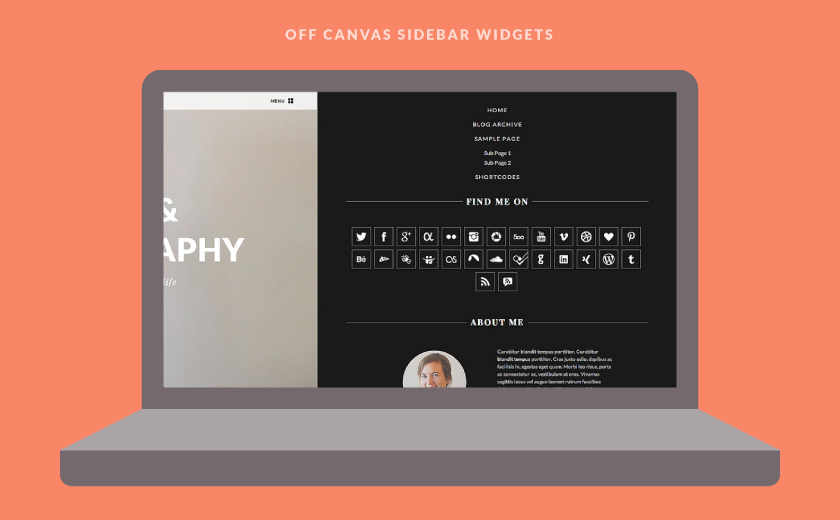
In den Einzel-Ansichten deiner Artikel kannst du deine Bilder dann schön groß und mit angenehm Weißraum präsentieren. Das moderne Off-Canvas Layout von Renkon bietet dafür den nötigen Platz.
Für mobile Geräte optimiert
Natürlich ist auch das Renkon-Theme wieder mit einem responsive Webdesign ausgestattet und passt sich automatisch an verschiedene Bildschirmformate an. So ist dein Blog sowohl für die Ansicht auf kleinen Smartphone-Bildschirmen, als auch auf großen Desktop-Monitoren optimal vorbereitet.
Renkon Live-Demo & Theme-Seite
Um dir das Renkon-Theme selbst in Ruhe anzuschauen, schau dir doch einfach die Renkon Live-Demo an. Weitere Theme-Features, Anleitungen und die Kauf-Option findest du außerdem auf der Renkon-Themeseite. Wir hoffen dir gefällt das Renkon-Theme. Über dein Feedback, Optimierungs-Vorschläge und Fragen zum Theme freuen wir uns schon sehr!
Schreibe einen Kommentar