Are you creating a new website or making changes to an existing website? You might want to know more about Maintenance Mode plugins. You can install a Maintenance Mode plugin to prevent people from seeing your website content, while you are already working on the site at the same time. I chose to install WP Maintenance Mode, but there are other plugins as well which you can browse through on the WP plugin directory.
I found it very simple to activate and have included instructions below.
1. Activation
After you install the WordPress plugin to your website, go to Settings and click on WP Maintenance Mode. Click ‘Activated’ to change your website to Maintenance Mode there. There are some other options under ‘General’. You can choose to block search engines from showing your website in searches. You can also decide if you want to have a notice that your maintenance mode is active, which I think is very helpful so you remember to deactivate it when your website is ready for the world to see :)

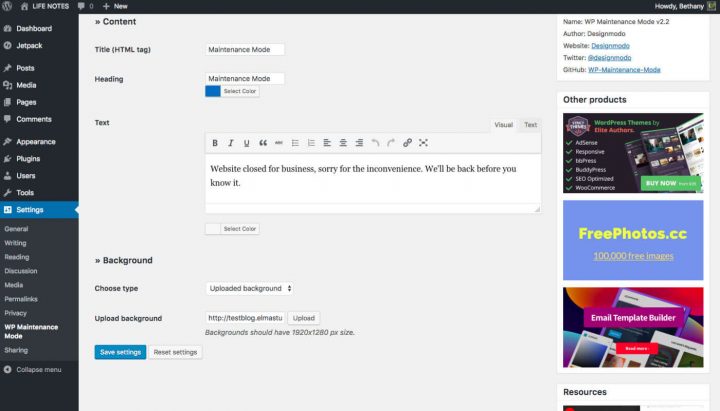
2. Design
Under the ‘Design’ tab, you can decide what the Maintenance Mode page will look like. This is pretty straight forward and user friendly. Use the text box to type in how you want to say that your website is being worked on. You can add anything that you would think is helpful for people (e.g. when the website will be back in action). You can even upload a background photo to give it a nice look.
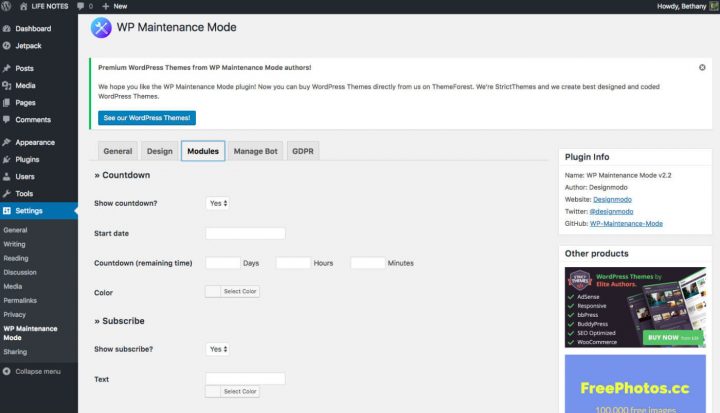
3. Optional Modules
Under the modules tab, there’s an option to set up a countdown for when your website will go live. You can also decide if you want to have a ‘subscribe’ e-mail so you can let people know when the website is live. Another nice option here is to have your social media links, a great idea if you want people to have a look into your social media and see what you’re all about before the website is ready.
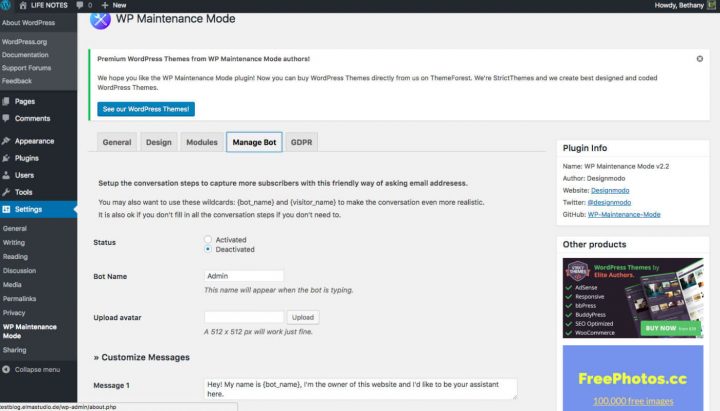
4. Bot
Another option for your maintenance mode is to add and manage a bot. Personally, I don’t think this is necessary and may become confusing for people, so I would skip this section and not activate the bot.
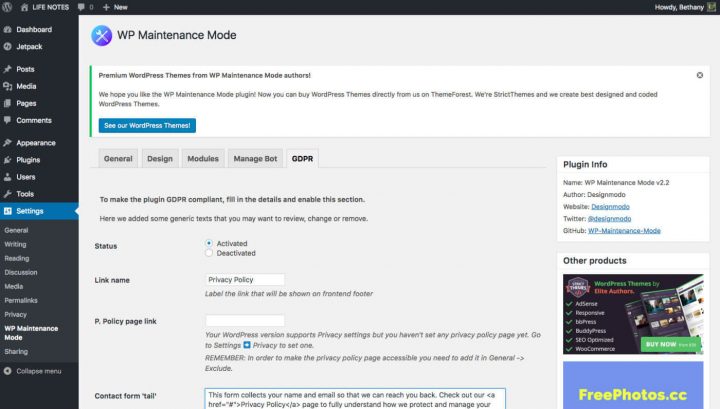
5. GDRP (General Data Protection Rules)
In the GDRP tab, you should activate the GDRP option to give your visitors a link to your privacy policy. Since WordPress 4.9.6 you can set-up your privacy policy page in your WordPress admin under Settings->Privacy.
Don’t forget to ‘Deactivate’ Maintenance Mode when you are ready to go live!
I hope you’ve found this information helpful. Feel free to comment if you get stuck or have questions.


Leave a Reply